
Preventing Burst Pipes During Winter Months: Essential Tips for Home Safety

Stefani • March 7, 2025

Share this article

Understanding Pipe Freeze Risk

We must recognize the dangers cold weather poses to our pipes. Freezing temperatures can cause serious problems, and knowing the risks helps us prevent damage.

Factors Contributing to Frozen Pipes

Cold weather conditions play a significant role in pipes freezing. Freezing temperatures can cause water inside pipes to freeze and expand. This pressure can lead to pipes bursting.

Another factor is poor insulation. Pipes in unheated areas like basements, attics, or garages are most vulnerable. These spaces often have less protection from cold air.

Finally, when temperatures drop rapidly, we might not have time to prepare. This can leave our pipes less protected against freezing.

Identifying Signs of Frozen Pipes

Reduced water flow is a key indicator. If we turn on a faucet and the water barely trickles, frozen pipes might be the problem.

We should also look for frost on visible pipes. This is a clear sign that freezing temperatures have affected them.

If pipes feel extremely cold to the touch, it could mean there’s an issue. Listening for strange sounds, like gurgling or bubbling, can also be important in detecting frozen pipes.

Preventative Measures for Pipe Safety

Preventing pipes from freezing is crucial as temperatures drop. We’ll focus on insulating pipes and water tanks, using heat tape strategically, and keeping a consistent heat level.

Insulating Pipes and Water Tanks

Insulating pipes is a key step in our efforts to prevent freezing. By using foam pipe insulation, we can trap heat inside the pipes, reducing the chance of ice forming. It’s important to cover all exposed areas, especially those in basements, attics, or outside walls.

For water tanks, insulation blankets are effective. These blankets keep the water temperature stable. We have to secure these properly to ensure they don’t slip or sag. By focusing on both pipes and tanks, we ensure a complete protection system against the cold.

Strategic Use of Heat Tape

Heat tape is another tool that aids us in pipe safety. It is an electrical wire that heats up when plugged in, preventing freezing by keeping the pipes warm. Wrapping heat tape around pipes is easy, but we must carefully follow installation instructions.

We should select heat tape with an automatic thermostat. This helps maintain the perfect temperature without wasting electricity. By strategically using heat tape, we focus on high-risk areas, ensuring efficient heat distribution.

Maintaining Consistent Heating

Maintaining warmth in our homes ensures that pipes don’t freeze. Setting the thermostat to a consistent temperature, even when we’re away, helps prevent a drop that may cause freezing. Opening cabinet doors allows warm air to flow around pipes under sinks and appliances.

Sealing gaps and cracks in windows and doors also helps maintain heat. This not only protects our pipes but also makes our homes more energy-efficient. By reliably maintaining heat, we reduce the risk of pipe damage in cold weather.

Immediate Actions to Thaw Frozen Pipes

When pipes freeze, it can cause significant problems. Acting fast can help avoid bigger issues. We’ll cover how to use heat to safely thaw pipes and manage minor leaks that may occur during the process.

Applying Heat to Thaw Pipes

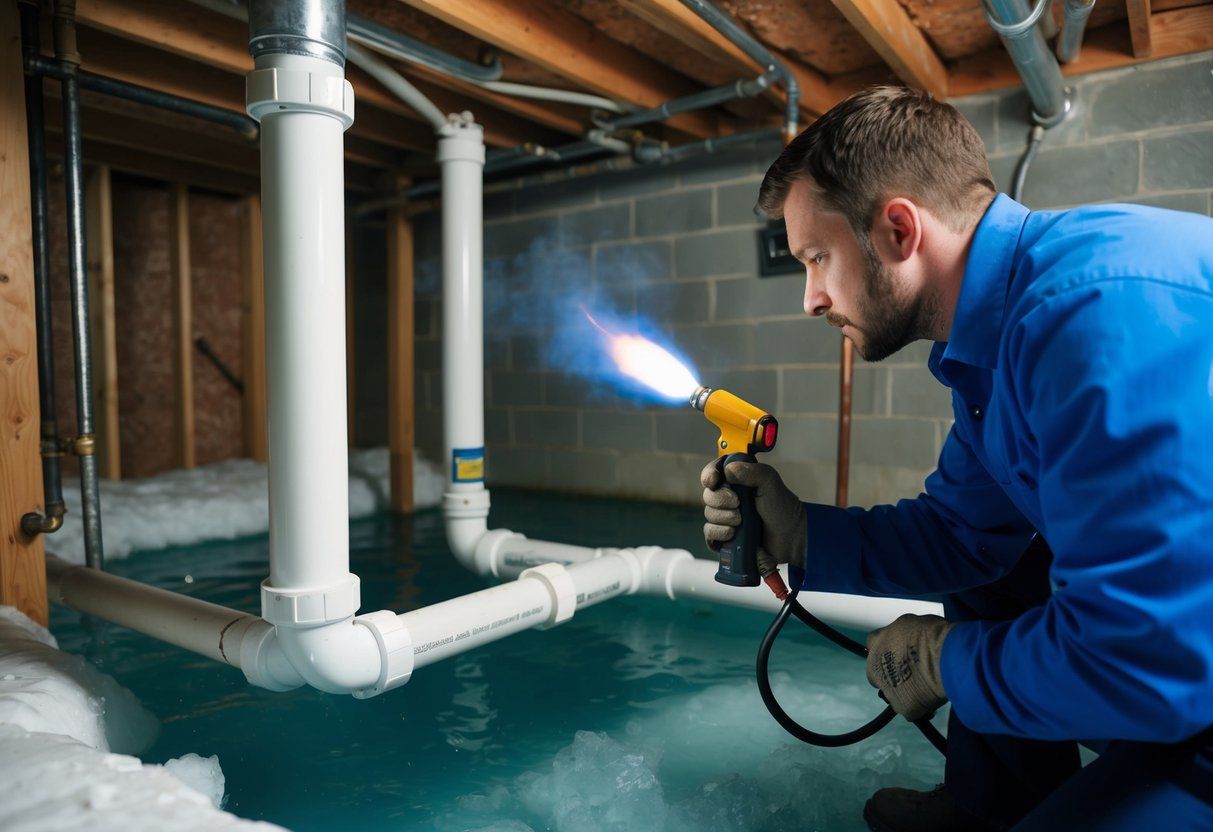
To thaw frozen pipes, apply heat at the first sign of freezing. We can use a hair dryer or a portable space heater for this task. Start heating near the faucet and move gradually towards the frozen section. Never use an open flame, as it poses a fire risk.

Using a heat lamp or a heating pad wrapped around the pipe can also help. Rotate the heat pad around different sections to ensure even warming. Remember to keep the faucet open; as the ice melts, water will begin to flow, helping the thawing process. Always monitor the pipes closely to avoid overheating.

Handling Minor Leaks

If leaks appear while thawing the pipes, quick action is key. Place a bucket or towel underneath to catch water and prevent further damage. Sometimes, joints may loosen as they thaw, leading to small leaks. It’s useful to inspect the pipe and tighten any loose connections with a wrench.

For small cracks, apply pipe tape to prevent water from spraying out. Pipe repair clamps can offer a more durable fix. These are available at hardware stores and are easy to use. It’s important to plan for pipe replacement soon, but these measures can hold leaks temporarily.

Managing the Aftermath of a Burst Pipe

When a pipe bursts, it’s important to act quickly to minimize damage and costs. We need to assess the damage and handle insurance claims effectively.

Assessment and Repair of Damage

First, we need to stop the water flow by turning off the main valve. This prevents more water from causing damage to our home. Once the water is stopped, we should inspect the affected area. Look for signs of water damage like soaked carpets, warped wood, or peeling paint.

Hiring a professional to assess the damage can be helpful. They can tell us the extent of the repairs needed. It’s crucial to dry out the area quickly to avoid mold. We can use fans, dehumidifiers, or even open windows for ventilation.

We should document the damage with photos or videos. This step is important for our insurance claim. Always keep receipts of repair costs and any services hired.

Navigating Insurance Claims

Understanding our home insurance policy is the key to navigating claims. We need to ensure the damage is covered under our plan. Contacting our insurance provider as soon as possible gets the process started quickly. They might send an adjuster to assess the damage.

Having thorough documentation is crucial. It helps us communicate what happened clearly. Sometimes, we might need estimates from repair professionals to submit with our claim.

Knowing what is covered by insurance prevents unexpected costs. Reviewing our policy regularly and updating it if necessary makes handling future incidents smoother.

Recent Posts

Fast Response Plumbing technician servicing a water shut off valve in San Francisco
By Joe Tinsley July 17, 2026
Learn how gate valves, ball valves, and angle stops work, where to find them in your San Francisco home, and when to replace them. FAQs inside.
Budgeting for Unforeseen Sewer Line Maintenance Expenses
By Stefani January 31, 2026
Sewer line problems can hit your wallet fast, and we know the stress of a surprise repair. We show you how to plan a practical budget that covers emergency fixes, regular upkeep, and the big costs that sneak up on you. This saves you money and keeps small issues from turning into major failures. We […]
Seasonal Effects on Sewer Line Maintenance Costs
By Stefani January 30, 2026
You’ll want to know how seasons change what you pay for sewer line maintenance so you can plan ahead and avoid surprise bills. Seasonal weather, ground movement, and plant growth directly affect repair needs and costs, so budgeting by season cuts unexpected expenses. We outline what shifts costs, when repairs most often happen, and which […]
The Role of Location in Sewer Line Maintenance Pricing
By Stefani January 29, 2026
You’ll pay different amounts for sewer line maintenance depending on where your property sits and what’s under it. Location drives cost through factors like soil type, access difficulty, local labor rates, and permit rules, so knowing these lets you predict and plan for expenses. We’ll show how those local details shape quotes and outcomes. We’ll […]
Analyzing Material Expenses for Effective Sewer Line Care
By Stefani January 28, 2026
We’ll break down the real costs that matter for keeping a sewer line working well so you can plan and avoid surprises. You’ll learn which materials and fees drive most of the expense and how small choices can lower long-term costs. We’ll look at costs for parts, tools, permits, and regular cleaning, plus where labor […]
Understanding the Impact of Labor Costs on Sewer Line Maintenance
By Stefani January 25, 2026
You want to know how labor costs shape sewer line care and what that means for your wallet. We will show how wages, crew size, and the repair method you choose change the final bill so you can plan smarter and avoid surprises. Knowing which labor factors most drive costs lets you pick repair options […]
How to Interpret Sewer Line Inspection Reports
By Stefani January 24, 2026
You’ll get clear steps to decode the most important parts of a sewer line inspection report so you can act with confidence. We show you how to spot real problems, what each defect means, and which issues need immediate repair versus routine maintenance. We break the report into simple pieces what the camera images show, […]
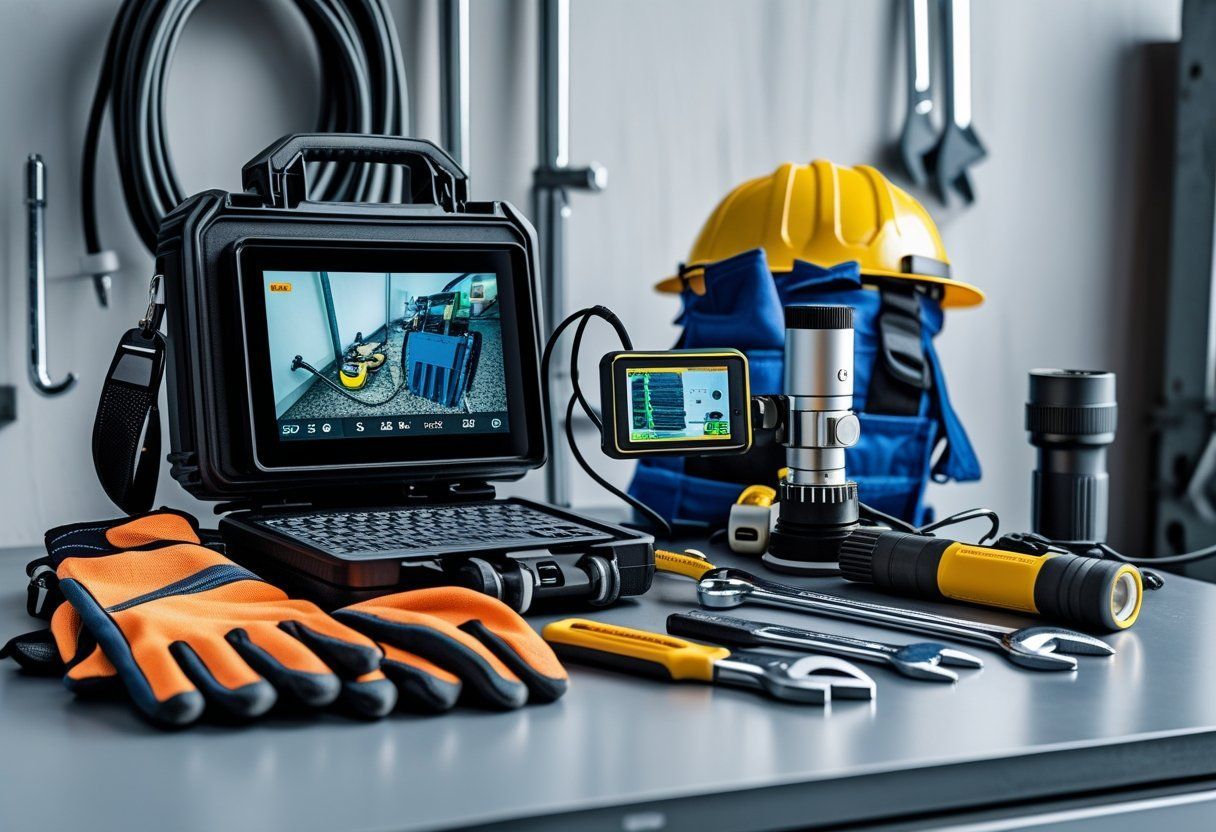
Tool kit with hard hat, gloves, laptop, and handheld device on a workbench in a workshop
By Stefani January 23, 2026
You want tools that give clear answers fast so you can find problems and fix them right. We rely on high-quality sewer cameras, locating gear, and cleaning tools to spot cracks, blockages, and defects in sewer lines accurately. Knowing which tools to use helps a plumber save time and avoid costly mistakes. We will walk […]
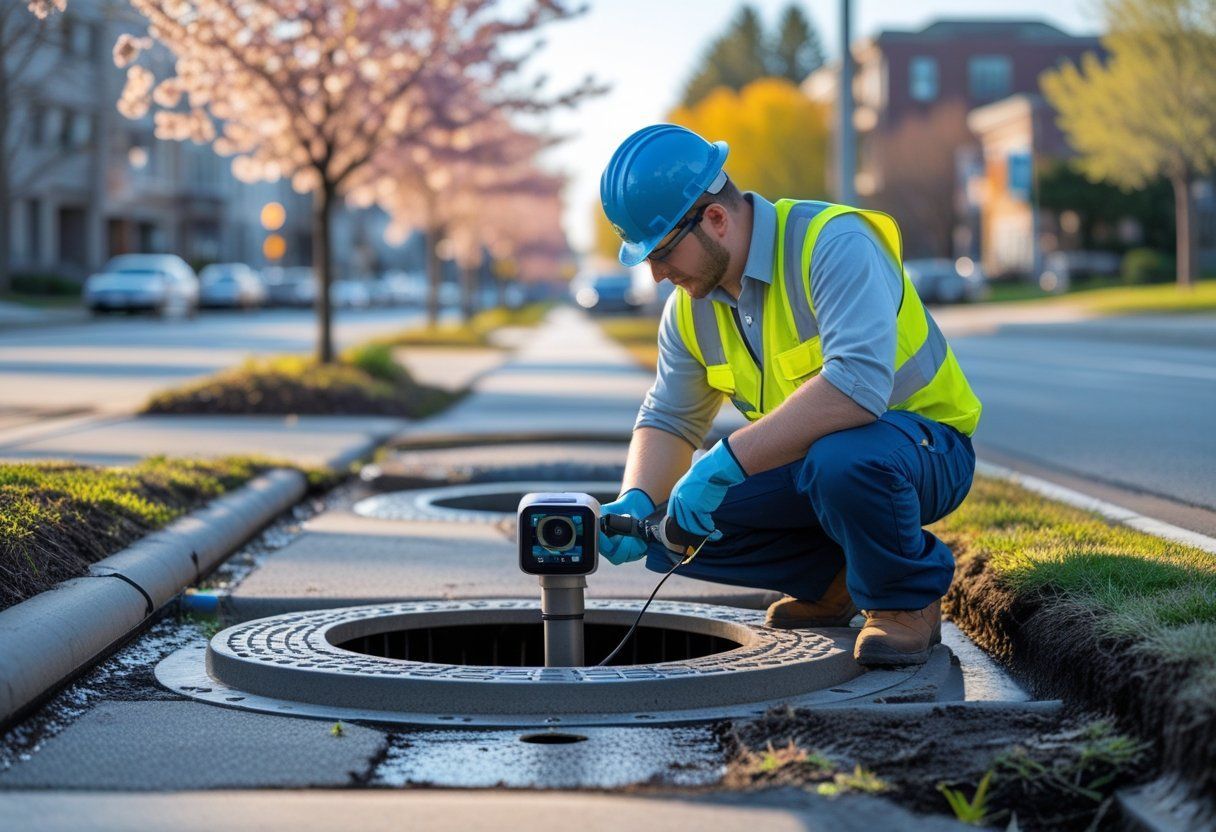
Worker in blue hard hat inspecting a manhole on a street with a camera device
By Stefani January 22, 2026
You want sewer line inspections timed so they catch problems before they get costly or urgent. We recommend scheduling inspections based on seasonal risks winter freeze, spring thaw, and heavy fall rains because timing cuts repair costs and prevents service interruptions. We will explain how weather, soil movement, and tree roots change the risk level […]
Common Mistakes to Avoid During Sewer Line Inspections
By Stefani January 18, 2026
We know sewer line inspections feel technical and tense, but avoiding a few common mistakes protects your home and wallet. Start by planning the inspection, knowing what to look for, and involving a qualified professional when signs point to trouble. That simple approach cuts down on missed problems and costly surprises. We will walk through […]
Show More