
Step-by-Step Guide to Conducting a DIY Sewer Line Inspection: Confident Techniques, Tools, and Safety Tips

Stefani • January 16, 2026

Share this article

We often avoid sewer line checks until a clog or leak forces us to act, but a DIY sewer line inspection can save time and money by spotting small problems early. With a few basic tools and a clear step-by-step approach, we can inspect the line ourselves, identify damage or blockages, and decide the right next step repair, maintenance, or professional help.

This guide walks us through why inspections matter, what tools to gather, and how to perform a careful inspection so we find issues before they become emergencies. Follow along and you’ll feel confident assessing your sewer line and choosing the right fix.

Why DIY Sewer Line Inspections Are Important

Regular checks let us spot small issues before they become big repairs. We can find slow drains, early clogs, and signs of pipe damage without paying a pro every time. That saves money and helps keep our home safe and clean.

Preventing Costly Sewer Line Problems

Doing regular sewer inspections helps us catch problems early, like root intrusion, cracked pipes, or grease buildup. A small crack can be fixed with a short repair, while an unseen collapse can cost thousands and require digging up yard or driveway.

We use cameras or simple tests to document pipe condition. This evidence guides targeted repairs rather than broad guessing.

Routine checks also let us schedule repairs on our terms, avoiding emergency calls that are more expensive. Early fixes keep water flowing and stop sewage from damaging landscaping or foundation.

Identifying Early Warning Signs Like Slow Drains and Sewage Backups

Slow drains are often the first sign of a blocked or damaged sewer line. We watch for multiple slow drains, gurgling toilets, or water backing into tubs when other fixtures run. These symptoms usually mean the problem is in the main sewer line, not just a local trap.

Sewage backups are more urgent and can cause health risks and property loss. We check cleanouts and run a camera to find the exact blockage location when backups happen. Knowing the cause tree roots, collapsed pipe, or heavy grease lets us choose the right fix and avoid repeated backups.

Protecting Property Value and Health

A healthy sewer line keeps our home functional and preserves its market value. Buyers check sewer condition during inspections, and visible issues can lower offers or stall sales. Regular DIY sewer inspection records show we maintained the system, which reassures buyers.

Sewer problems also pose health hazards from bacteria and mold. By catching leaks and backups early, we reduce exposure to harmful waste and prevent mold growth in basements and crawl spaces. That protects our family and reduces future cleanup costs.

Essential Tools and Preparation for Sewer Line Inspection

We gather the right gear, know where the cleanout is, and follow safety steps before starting. Proper tools and prep save time and help us get clear video and precise location data.

Sewer Camera and Camera Inspection Basics

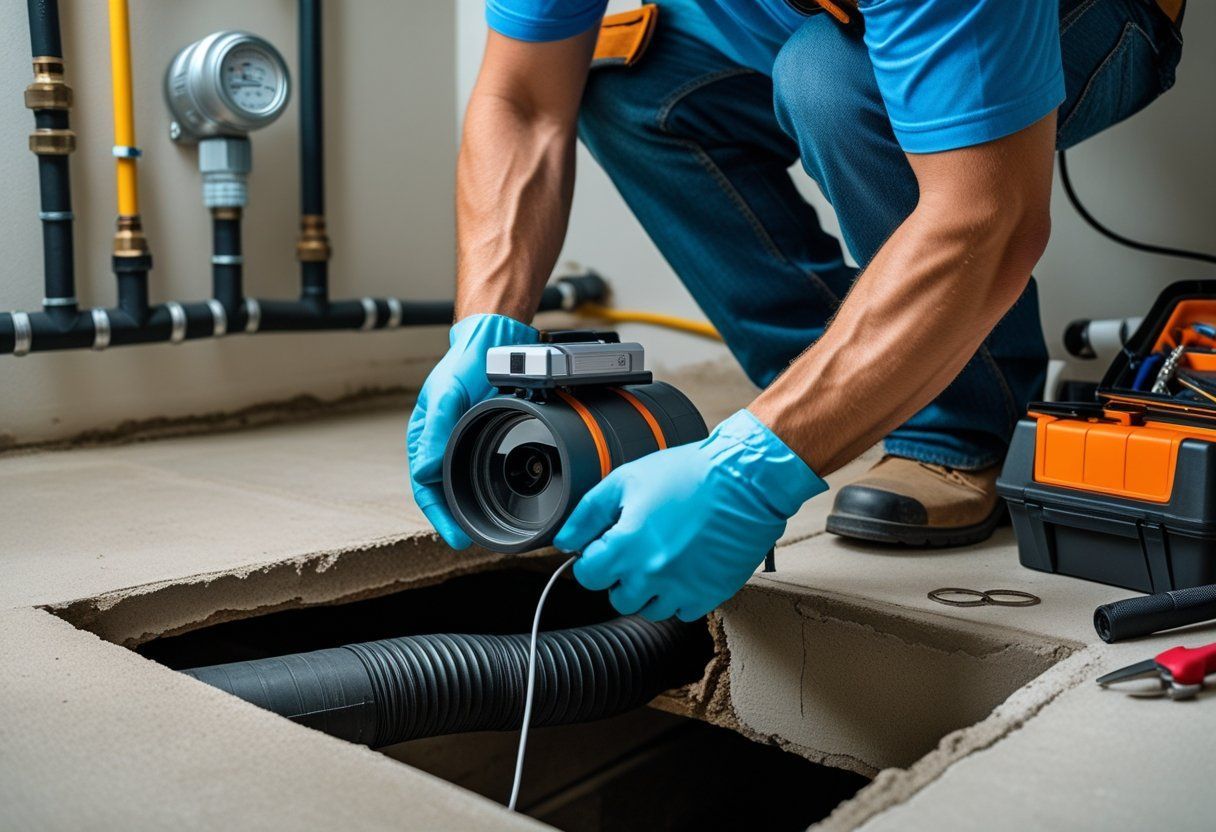
We use a sewer camera (also called a sewer line camera) to see inside pipes. Pick a camera with a 1/2″-1″ diameter head for most residential lines and at least 480p resolution for clear images. A reel with a flexible push rod of 50-200 feet fits common sewer runs.

Check the camera light, lens, and swivel before inserting. Clean the lens and reel to avoid blurry footage. Secure the monitor or tablet so we can view live video without bending over the cleanout.

Record or save clips during the run. Note direction, depth, and any defects like roots, sags, or cracks with timestamps. Move the camera slowly about 1-2 feet per second so we don’t miss problems. If the camera snags, slowly back out and try a different angle.

Using Pipe Locators and Locating the Sewer Cleanout

We locate the sewer cleanout before feeding the camera to avoid probing blind. Look for a capped pipe near the foundation, driveway, or low point in the yard. Cleanouts are often white PVC or cast iron and may sit flush or a few inches above ground.

If the cleanout is buried, use a pipe locator. Attach the locator transmitter to the camera or cleanout cap and sweep the yard surface with the receiver. Pipe locators show depth and direction. Mark the path with spray paint or flags so we can map the line and note possible breaks or offsets.

If no cleanout exists, find the closest plumbing access like a basement drain or toilet cleanout. We avoid forcing the camera into traps; instead, use a toilet adaptor or hire a pro if access is too tight.

Protective Gear and Safety Precautions

We always wear protective gear when working with sewer lines. Use nitrile gloves, eye protection, and a face mask or respirator rated for organic vapors if odors are strong. Wear waterproof boots and coveralls that we can wash or dispose of after use.

Keep a flashlight, first-aid kit, and hand sanitizer nearby. Use a GFCI-protected extension cord for camera power to prevent electric shock. Never work alone have someone on hand to assist or call for help if needed.

Avoid opening sewer cleanouts during heavy rain or sewer backups. Sewage can contain pathogens and create slippery conditions. If we detect methane or strong sewer gas smells, stop work and ventilate the area, then call a professional with gas detection equipment.

Step-by-Step Guide to Conducting a DIY Sewer Line Inspection

We will walk through preparing the pipe, using a camera, spotting root intrusion and other issues, and recording what we find. Follow safety steps, work methodically, and keep clear photos and notes.

Preparing the Sewer Line for Inspection

We start by locating the cleanout fitting closest to the house. Turn off water sources that feed the line, then open the cleanout cap slowly to relieve pressure. Wear gloves and eye protection to avoid contact with waste.

If there’s no accessible cleanout, use the lowest indoor drain with an adapter to feed the camera. Remove traps only if needed and keep a bucket handy for spills. Clear the immediate area so tools and the camera monitor sit steady and dry.

Check the camera cable and monitor for damage before inserting. Apply a small amount of pipe-safe lubricant to the cable tip if needed. Note the cleanout depth so we can estimate distances during the run.

Inserting and Operating the Inspection Camera

We feed the camera cable gently into the cleanout, keeping the monitor where we can see it. Advance the camera slowly no faster than a foot every few seconds so we don’t miss defects.

Use the camera’s light and focus controls to get clear images. Pause at every joint and at changes in pipe diameter to let the image stabilize. If the feed blurs, back the camera out slightly and try again.

Record video or take timed stills at regular intervals. Mark the cable length or use the on-screen footage counter to estimate how far features are from the cleanout. Keep the cable tension even to avoid kinks.

Spotting Tree Root Intrusion and Other Common Issues

Tree roots usually appear as clusters of thin, branching strands entering through joints or cracks. Look for roots that brush or block the pipe flow, and note whether they are tight against the pipe wall or forming a mass.

Also watch for cracks, displaced joints, sags (bellies), grease buildup, and collapsed sections. Grease shows up as smooth, shiny coating; sags look like low spots where water pools; cracks can run lengthwise or go around the pipe.

If we see roots only brushing the wall, a targeted rooter or chemical root treatment may work. If roots cause major blockage or pipe damage, plan for professional repair. Always record the exact location and estimated distance from the cleanout.

Documenting and Interpreting Inspection Results

We label each video clip or photo with the cleanout ID, date, and cable distance at the time of capture. Use a simple table or checklist to record: distance, defect type, severity (minor/moderate/major), and immediate action needed.

Include still shots of each problem from multiple angles and note nearby landmarks (basement wall, yard feature) to help locate repairs later. Keep a copy of the original video file for professionals to review.

Interpret defects by severity:

  • surface roots or grease = lower urgency
  • cracks, displaced joints, sags, or collapse = higher urgency.

Use our notes and footage when consulting a plumber so they can give an accurate repair estimate.

Next Steps: Maintenance, Repair, and Sewer Line Installation

We cover how to clear small clogs, when to repair or replace pipes, and key points for installing a sewer line so you can decide what to do next and talk with a pro if needed.

Clearing Minor Blockages with Drain Snakes or Drain Cleaners

We start with simple tools: a plumber’s snake (drain snake) and chemical or enzyme drain cleaners. Use a handheld plumber’s snake for sinks and toilets by feeding it until you feel resistance, then rotate and pull back slowly to remove hair and debris. Wear gloves and eye protection.

For tubs and showers, a longer auger works better. Avoid forcing a snake into cast-iron or old clay lines; that can damage brittle pipe. Use enzyme drain cleaners for organic clogs follow label directions and wait the recommended time. Avoid mixing bleach and ammonia with other cleaners.

For stubborn blockages, hydro-jetting by a licensed pro can clean scale and roots. Hydro-jetting uses high-pressure water and clears build-up without chemicals, but it can harm old or cracked pipes. If clogs recur within months, plan a camera inspection to look for deeper issues.

When and How to Perform Pipe Repair or Replacement

We decide between repair and replacement based on pipe condition, age, and damage. Use camera footage to spot cracks, roots, bellied sections, or widespread corrosion. Small localized damage often suits spot repair or pipe lining. Lining (CIPP) inserts a resin sleeve that cures to form a new inner pipe without full digging.

Replace pipe when damage is long, multiple leaks exist, or pipe material (like old clay or cast iron) is failing. Trenchless replacement methods, like pipe bursting, let us install a new HDPE pipe along the old line with minimal digging. Open-trench replacement removes the old pipe and lays new PVC or ABS when trenchless isn’t possible.

Hire a licensed plumber for structural repairs and replacements. We get multiple bids, verify insurance and permits, and ask for method details spot repair, lining, pipe bursting, or open-trench so we can compare costs and disruption.

Best Practices for Sewer Line Installation

We plan sewer line installation by mapping property lines, locating utilities, and pulling permits first. Call 811 to mark underground utilities. Measure route length and slope; typical slope for gravity sewer lines is 1/8″ to 1/4″ per foot for 4″ pipe.

Choose materials: PVC or SDR-35 PVC for residential lines, or HDPE for trenchless work. Use proper bedding and backfill sand or pea gravel under the pipe, compacted fill around it to prevent future settling. Install cleanouts at changes in direction and near the house for access.

Follow local code for pipe size, depth, and connections to the main sewer. Test the new line with water or air testing before backfilling. We hire experienced contractors for complex installs, keep detailed permits and warranties, and document the completed work with photos and as-built notes.

Recent Posts

Fast Response Plumbing technician servicing a water shut off valve in San Francisco
By Joe Tinsley July 17, 2026
Learn how gate valves, ball valves, and angle stops work, where to find them in your San Francisco home, and when to replace them. FAQs inside.
Budgeting for Unforeseen Sewer Line Maintenance Expenses
By Stefani January 31, 2026
Sewer line problems can hit your wallet fast, and we know the stress of a surprise repair. We show you how to plan a practical budget that covers emergency fixes, regular upkeep, and the big costs that sneak up on you. This saves you money and keeps small issues from turning into major failures. We […]
Seasonal Effects on Sewer Line Maintenance Costs
By Stefani January 30, 2026
You’ll want to know how seasons change what you pay for sewer line maintenance so you can plan ahead and avoid surprise bills. Seasonal weather, ground movement, and plant growth directly affect repair needs and costs, so budgeting by season cuts unexpected expenses. We outline what shifts costs, when repairs most often happen, and which […]
The Role of Location in Sewer Line Maintenance Pricing
By Stefani January 29, 2026
You’ll pay different amounts for sewer line maintenance depending on where your property sits and what’s under it. Location drives cost through factors like soil type, access difficulty, local labor rates, and permit rules, so knowing these lets you predict and plan for expenses. We’ll show how those local details shape quotes and outcomes. We’ll […]
Analyzing Material Expenses for Effective Sewer Line Care
By Stefani January 28, 2026
We’ll break down the real costs that matter for keeping a sewer line working well so you can plan and avoid surprises. You’ll learn which materials and fees drive most of the expense and how small choices can lower long-term costs. We’ll look at costs for parts, tools, permits, and regular cleaning, plus where labor […]
Understanding the Impact of Labor Costs on Sewer Line Maintenance
By Stefani January 25, 2026
You want to know how labor costs shape sewer line care and what that means for your wallet. We will show how wages, crew size, and the repair method you choose change the final bill so you can plan smarter and avoid surprises. Knowing which labor factors most drive costs lets you pick repair options […]
How to Interpret Sewer Line Inspection Reports
By Stefani January 24, 2026
You’ll get clear steps to decode the most important parts of a sewer line inspection report so you can act with confidence. We show you how to spot real problems, what each defect means, and which issues need immediate repair versus routine maintenance. We break the report into simple pieces what the camera images show, […]
Tool kit with hard hat, gloves, laptop, and handheld device on a workbench in a workshop
By Stefani January 23, 2026
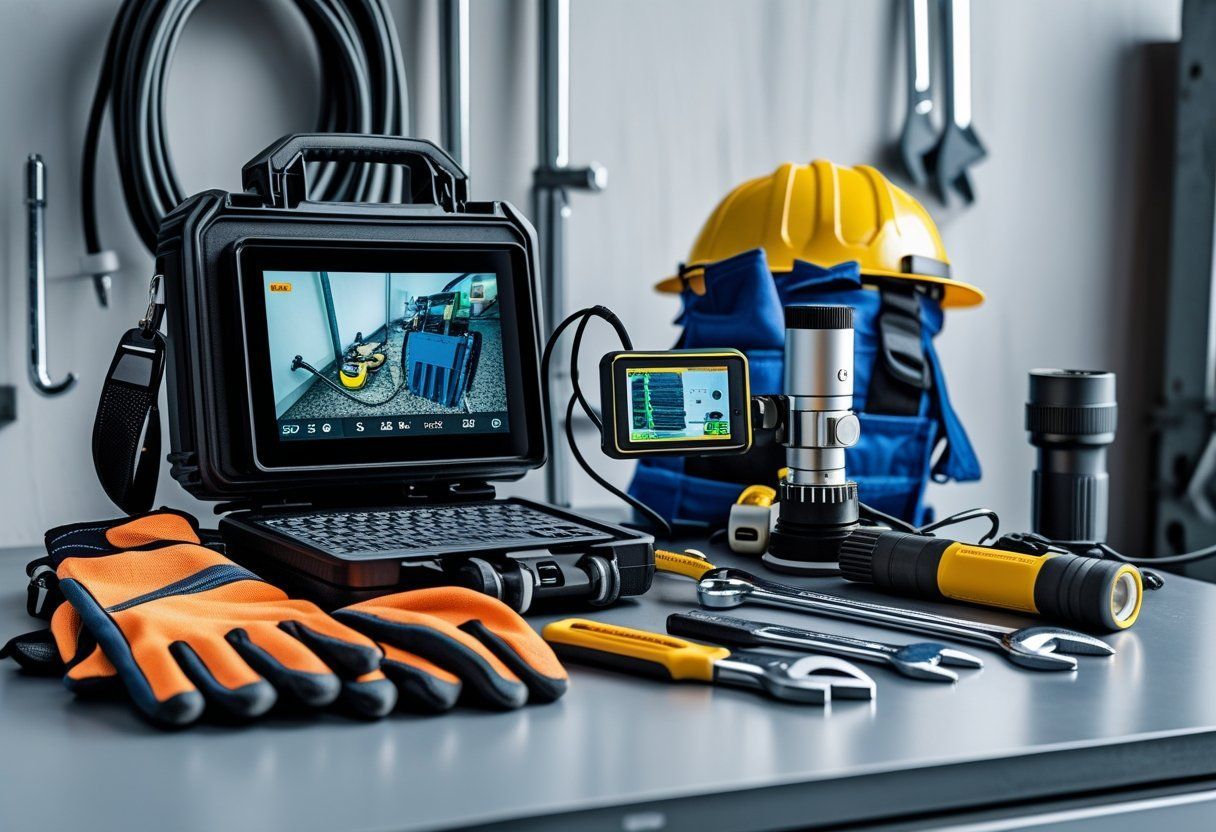
You want tools that give clear answers fast so you can find problems and fix them right. We rely on high-quality sewer cameras, locating gear, and cleaning tools to spot cracks, blockages, and defects in sewer lines accurately. Knowing which tools to use helps a plumber save time and avoid costly mistakes. We will walk […]
Worker in blue hard hat inspecting a manhole on a street with a camera device
By Stefani January 22, 2026
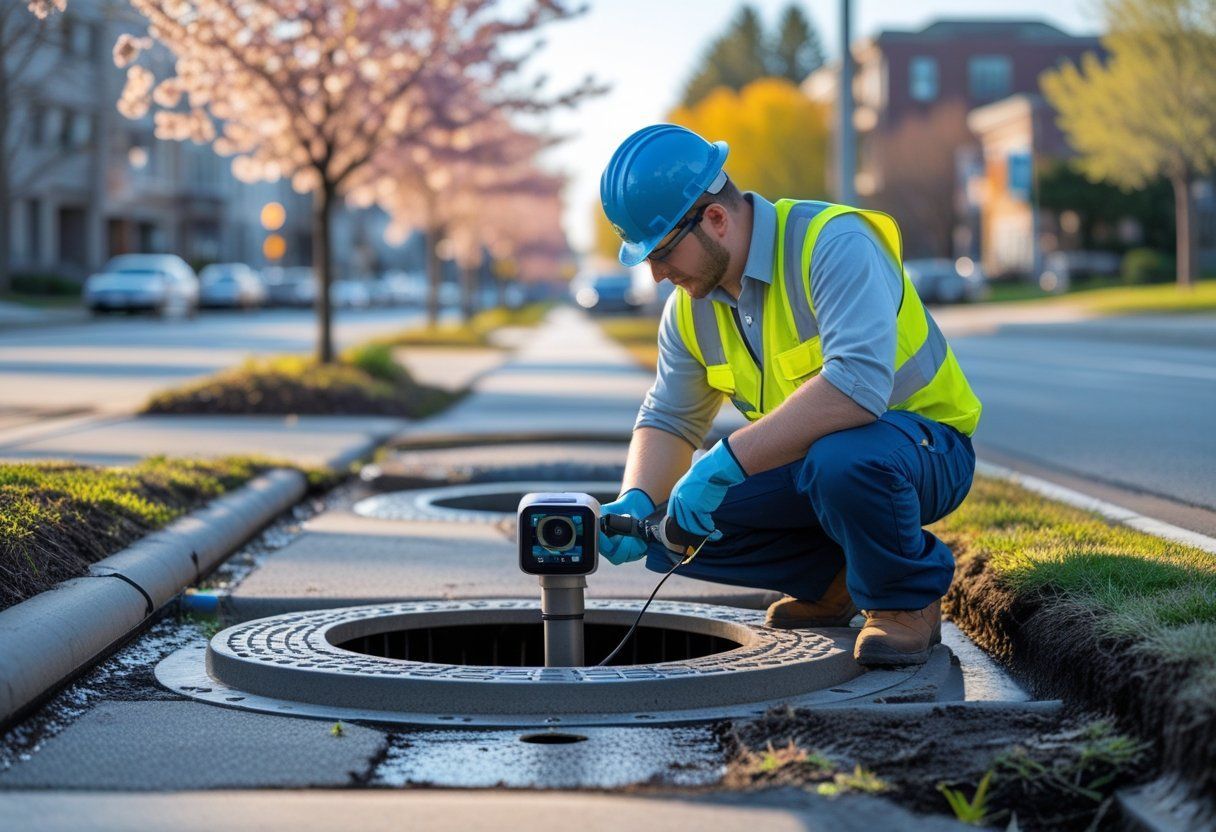
You want sewer line inspections timed so they catch problems before they get costly or urgent. We recommend scheduling inspections based on seasonal risks winter freeze, spring thaw, and heavy fall rains because timing cuts repair costs and prevents service interruptions. We will explain how weather, soil movement, and tree roots change the risk level […]
Common Mistakes to Avoid During Sewer Line Inspections
By Stefani January 18, 2026
We know sewer line inspections feel technical and tense, but avoiding a few common mistakes protects your home and wallet. Start by planning the inspection, knowing what to look for, and involving a qualified professional when signs point to trouble. That simple approach cuts down on missed problems and costly surprises. We will walk through […]
Show More