
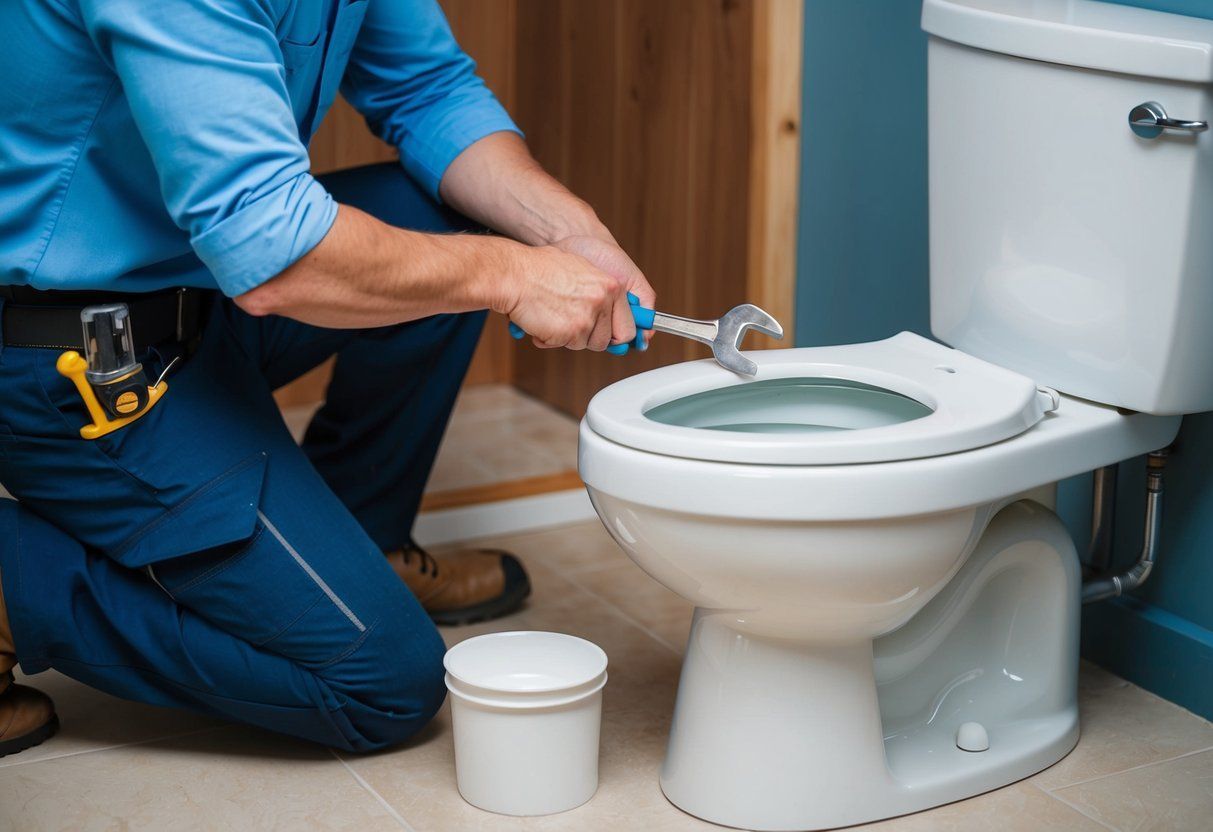

Step-by-Step Guide to Replacing Your Toilet: Simplified Instructions for Homeowners

daniel • September 7, 2024

Share this article

Preparing for Installation

Before we begin installing a new toilet, it’s essential to prepare properly. This involves gathering the right tools and taking out the old unit carefully. By doing this, we ensure a smoother working process and a successful installation.

Gathering Necessary Tools

To replace a toilet, we must have the right tools. An adjustable wrench is necessary for loosening and tightening bolts. A putty knife helps in removing the old wax ring from the flange. To prevent leaks, we need a new wax ring and rubber gasket . We’ll also need floor bolts to secure the new toilet.

A bucket and towels are important to clean up water spills when disconnecting the old toilet. The new toilet should come with a toilet tank , toilet bowl , and toilet seat . Ensure that all pieces are intact before starting. Decorative caps can add a nice finish to the base of the toilet, covering the floor bolts.

Having all these items ready helps us carry out the replacement efficiently and avoid last-minute trips to the store.

Removing the Old Toilet

We need to shut off the water by turning the valve behind the toilet clockwise. Afterward, flush the toilet to empty the toilet tank and toilet bowl . A sponge or towel helps in soaking up any leftover water.

Next, we use the adjustable wrench to remove the nuts from the floor bolts . Gently rock the toilet to break the seal of the old wax ring . Once loosened, carefully lift the toilet. Be cautious, as it might still have some water in it.

The old wax ring needs scraping away with a putty knife to ensure a clean and smooth installation surface. Check the flange for any damages and replace it if necessary. With these steps, we can successfully remove the old toilet and be ready for installation.

Installing the New Toilet

We need to focus on securing the toilet base, attaching the tank, and connecting the supply line. Proper installation requires attention to closet bolts, silicone caulk, and correct connections.

Securing the Toilet Base

First, position the new toilet base over the flange. Align the holes in the base with the closet bolts coming up from the flange. The bolts need to be in place and ready.

Next, press the toilet base down firmly. This ensures a snug fit. If needed, carefully rock the toilet slightly to secure it more.

Afterward, slide washers and nuts onto the bolts. Tighten the nuts evenly on each side using a wrench. Be cautious not to tighten too much to avoid cracking the porcelain.

Apply a bead of silicone caulk around the base. This step helps to seal the toilet to the floor and prevent water leaks.

Attaching the Tank

Place the rubber gasket onto the opening at the bottom of the tank. This gasket is essential to prevent leaks.

Position the tank on the toilet base. Align the tank bolts with the holes in the base.

Thread the washers and nuts onto the bolts. Tighten them securely, but do it evenly on each side. Ensure the tank is level and steady.

Checking for any wobbles is critical. If the tank moves, gently tighten the bolts more until everything is stable but not overly tight.

Connecting the Supply Line

The supply line carries water to the toilet. Start by connecting one end of the line to the water shut-off valve.

Next, attach the other end to the fill valve on the toilet tank. Hand-tighten the connections. Then, give them a gentle turn with a wrench for extra security.

After connecting, turn on the water supply. Check for leaks by looking and feeling around the connections.

If any leakage is detected, tighten the connections just a bit more. Double-check all areas where we used caulking or bolts to ensure they remain secure.

Finishing Touches

Once we’ve mounted the toilet, we need to make sure it stays firmly in place, seal the base, and conduct a final check. These steps ensure that our installation is not only complete but also done right.

Ensuring Stability

First, we need to guarantee the toilet doesn’t wobble. To do this, we can use toilet shims, which are small wedges. Place them around the base of the toilet until it feels solid.

After positioning the shims, we should tighten the bolts at the base of the toilet. This will keep it secure. Be cautious not to overtighten, as it may crack the porcelain. A stable toilet prevents leaks and prolongs its lifespan. These measures ensure that our toilet sits perfectly balanced on the floor.

Applying Sealant

It’s time to apply the silicone caulk around the toilet base. This step helps to seal off any gaps and prevent water from leaking underneath. We should focus on achieving a smooth and continuous bead of caulking.

Proper caulking not only keeps water and moisture out but also gives the base a clean, finished look. Use a caulk gun for the best results, and don’t forget to clean up any extra caulk immediately with a damp cloth. A well-sealed toilet guards against future water issues and adds a tidy appearance to our bathroom.

Final Inspection

Before we finish, it’s crucial to inspect our work. Check for any signs of wobbling or leaks. Examine the silicone caulk to ensure even coverage and a firm seal. We can also flush the toilet a couple of times to be sure it operates smoothly.

If we notice any issues, now is the time to fix them, or we might consider hiring a professional plumber for complicated problems. A careful final inspection can save us from future headaches and ensure a properly functioning toilet installation right from the start.

Recent Posts

Fast Response Plumbing technician servicing a water shut off valve in San Francisco
By Joe Tinsley July 17, 2026
Learn how gate valves, ball valves, and angle stops work, where to find them in your San Francisco home, and when to replace them. FAQs inside.
Budgeting for Unforeseen Sewer Line Maintenance Expenses
By Stefani January 31, 2026
Sewer line problems can hit your wallet fast, and we know the stress of a surprise repair. We show you how to plan a practical budget that covers emergency fixes, regular upkeep, and the big costs that sneak up on you. This saves you money and keeps small issues from turning into major failures. We […]
Seasonal Effects on Sewer Line Maintenance Costs
By Stefani January 30, 2026
You’ll want to know how seasons change what you pay for sewer line maintenance so you can plan ahead and avoid surprise bills. Seasonal weather, ground movement, and plant growth directly affect repair needs and costs, so budgeting by season cuts unexpected expenses. We outline what shifts costs, when repairs most often happen, and which […]
The Role of Location in Sewer Line Maintenance Pricing
By Stefani January 29, 2026
You’ll pay different amounts for sewer line maintenance depending on where your property sits and what’s under it. Location drives cost through factors like soil type, access difficulty, local labor rates, and permit rules, so knowing these lets you predict and plan for expenses. We’ll show how those local details shape quotes and outcomes. We’ll […]
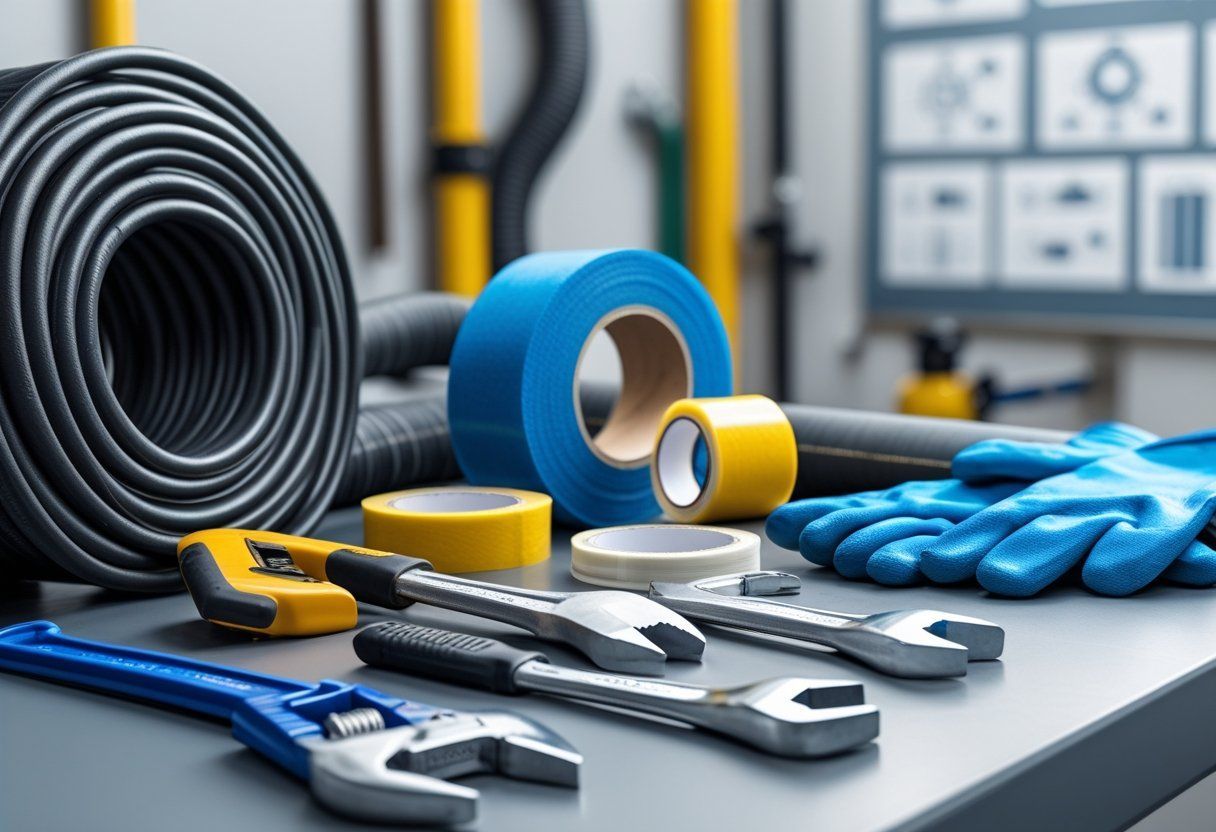
Analyzing Material Expenses for Effective Sewer Line Care
By Stefani January 28, 2026
We’ll break down the real costs that matter for keeping a sewer line working well so you can plan and avoid surprises. You’ll learn which materials and fees drive most of the expense and how small choices can lower long-term costs. We’ll look at costs for parts, tools, permits, and regular cleaning, plus where labor […]
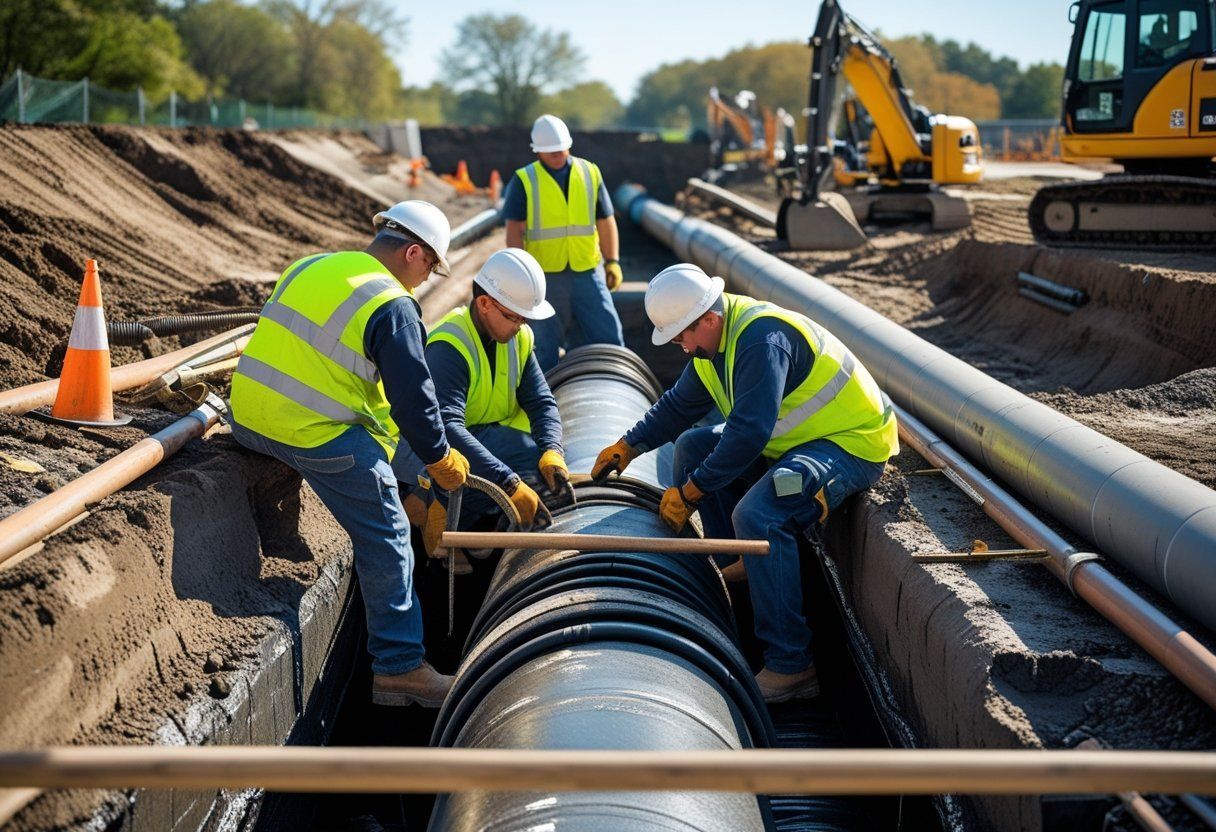
Understanding the Impact of Labor Costs on Sewer Line Maintenance
By Stefani January 25, 2026
You want to know how labor costs shape sewer line care and what that means for your wallet. We will show how wages, crew size, and the repair method you choose change the final bill so you can plan smarter and avoid surprises. Knowing which labor factors most drive costs lets you pick repair options […]

How to Interpret Sewer Line Inspection Reports
By Stefani January 24, 2026
You’ll get clear steps to decode the most important parts of a sewer line inspection report so you can act with confidence. We show you how to spot real problems, what each defect means, and which issues need immediate repair versus routine maintenance. We break the report into simple pieces what the camera images show, […]
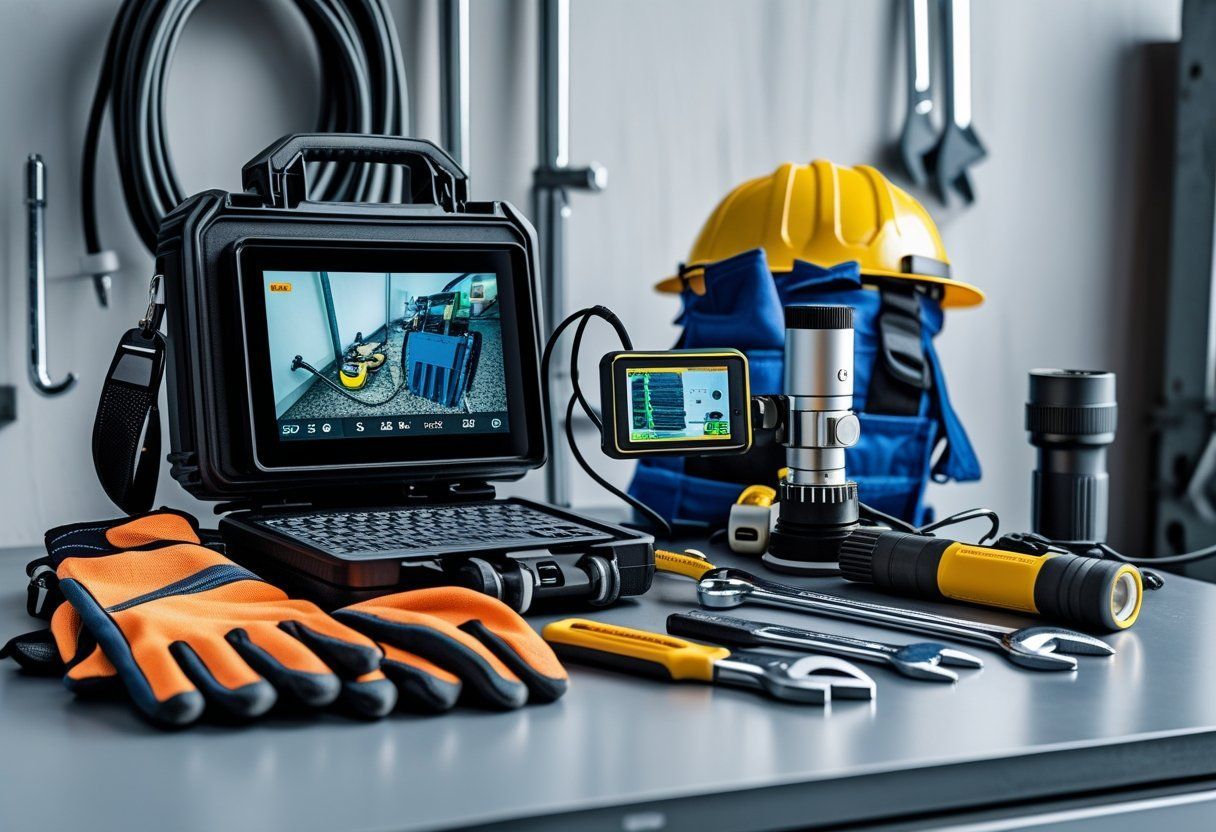
Tool kit with hard hat, gloves, laptop, and handheld device on a workbench in a workshop
By Stefani January 23, 2026
You want tools that give clear answers fast so you can find problems and fix them right. We rely on high-quality sewer cameras, locating gear, and cleaning tools to spot cracks, blockages, and defects in sewer lines accurately. Knowing which tools to use helps a plumber save time and avoid costly mistakes. We will walk […]
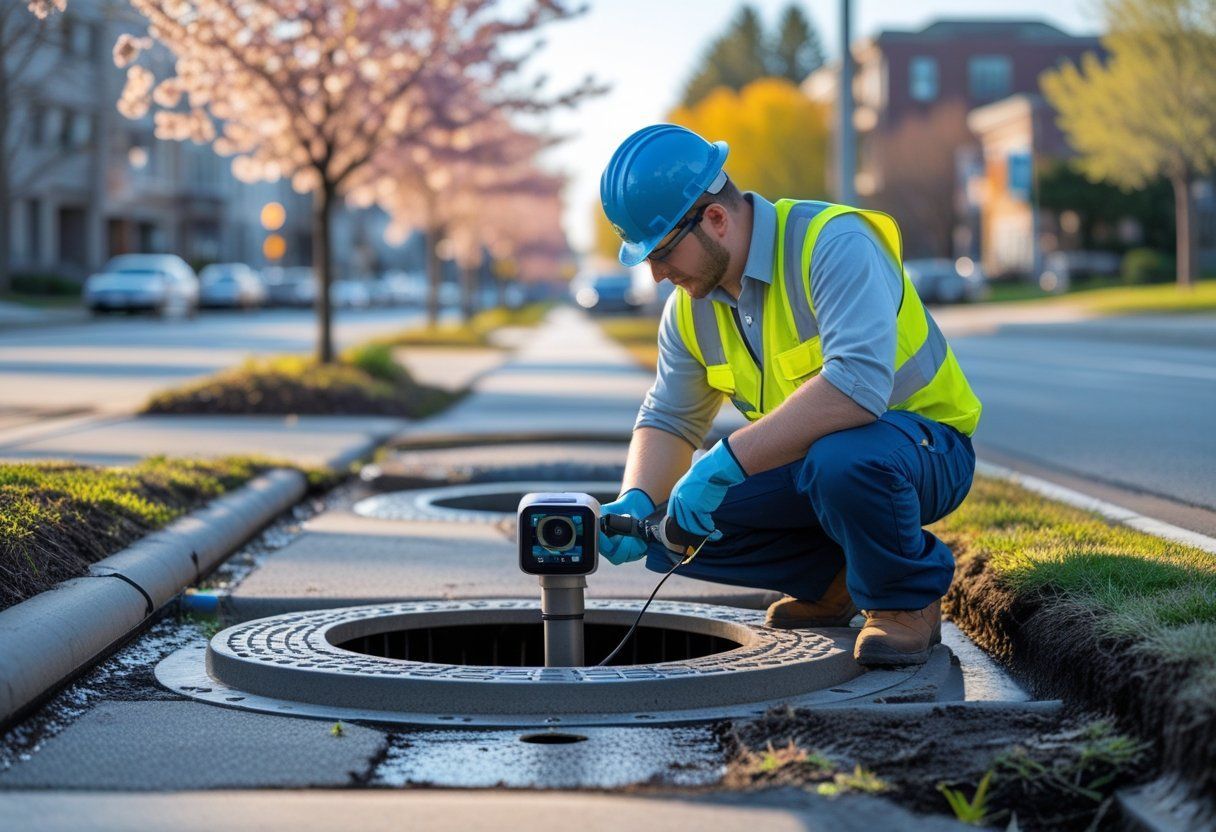
Worker in blue hard hat inspecting a manhole on a street with a camera device
By Stefani January 22, 2026
You want sewer line inspections timed so they catch problems before they get costly or urgent. We recommend scheduling inspections based on seasonal risks winter freeze, spring thaw, and heavy fall rains because timing cuts repair costs and prevents service interruptions. We will explain how weather, soil movement, and tree roots change the risk level […]
Common Mistakes to Avoid During Sewer Line Inspections
By Stefani January 18, 2026
We know sewer line inspections feel technical and tense, but avoiding a few common mistakes protects your home and wallet. Start by planning the inspection, knowing what to look for, and involving a qualified professional when signs point to trouble. That simple approach cuts down on missed problems and costly surprises. We will walk through […]
Show More