
Step-by-Step Guide to Installing a Kitchen Faucet: Expert Tips for Success

daniel • August 21, 2024

Share this article

Preparing for Installation

Before installing a new kitchen faucet, we need certain tools and materials and should make sure to disconnect the water supply. Removing the old faucet is also an important step in getting everything ready.

Tools and Materials Required

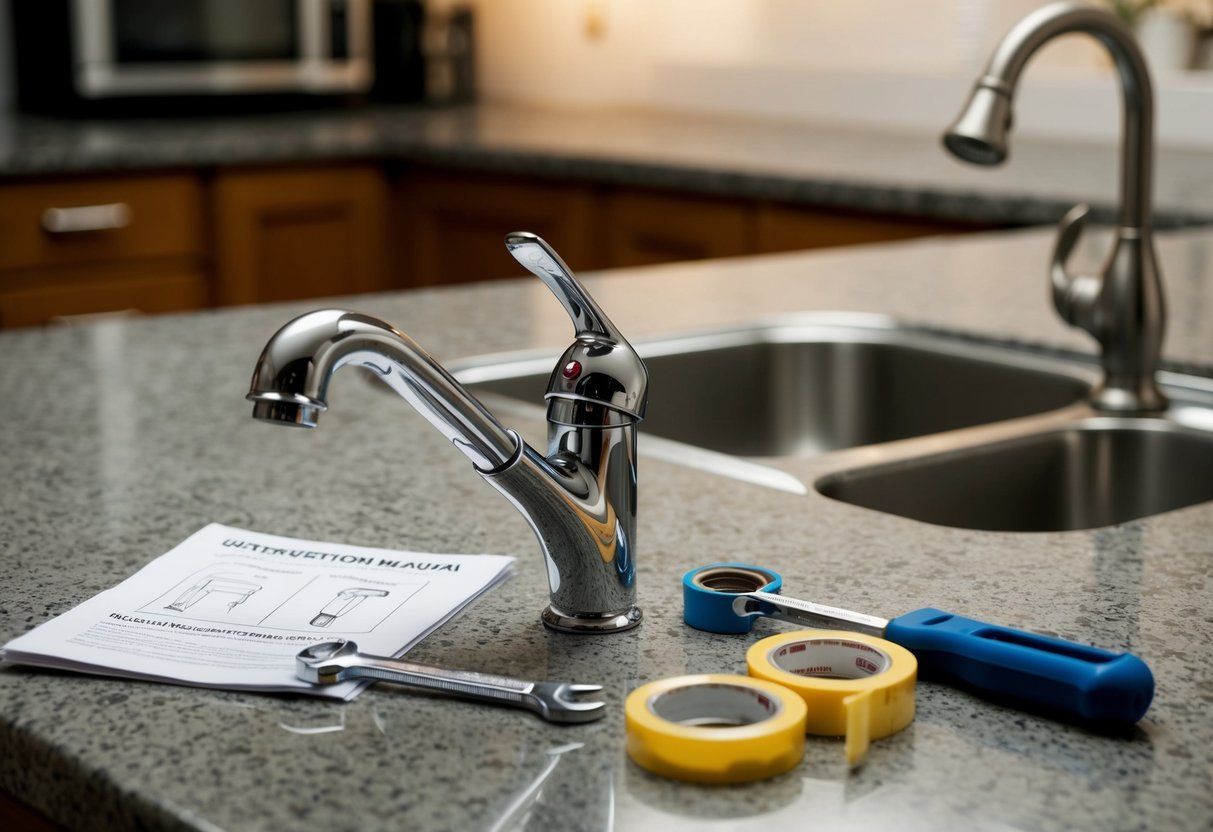
Getting the right tools and materials is key. We will need a basin wrench , adjustable wrench , and pliers . Make sure to have Teflon tape and supply lines if the new faucet doesn’t come with them.

Here’s a simple checklist:

  • Basin wrench : This helps reach tight spaces.
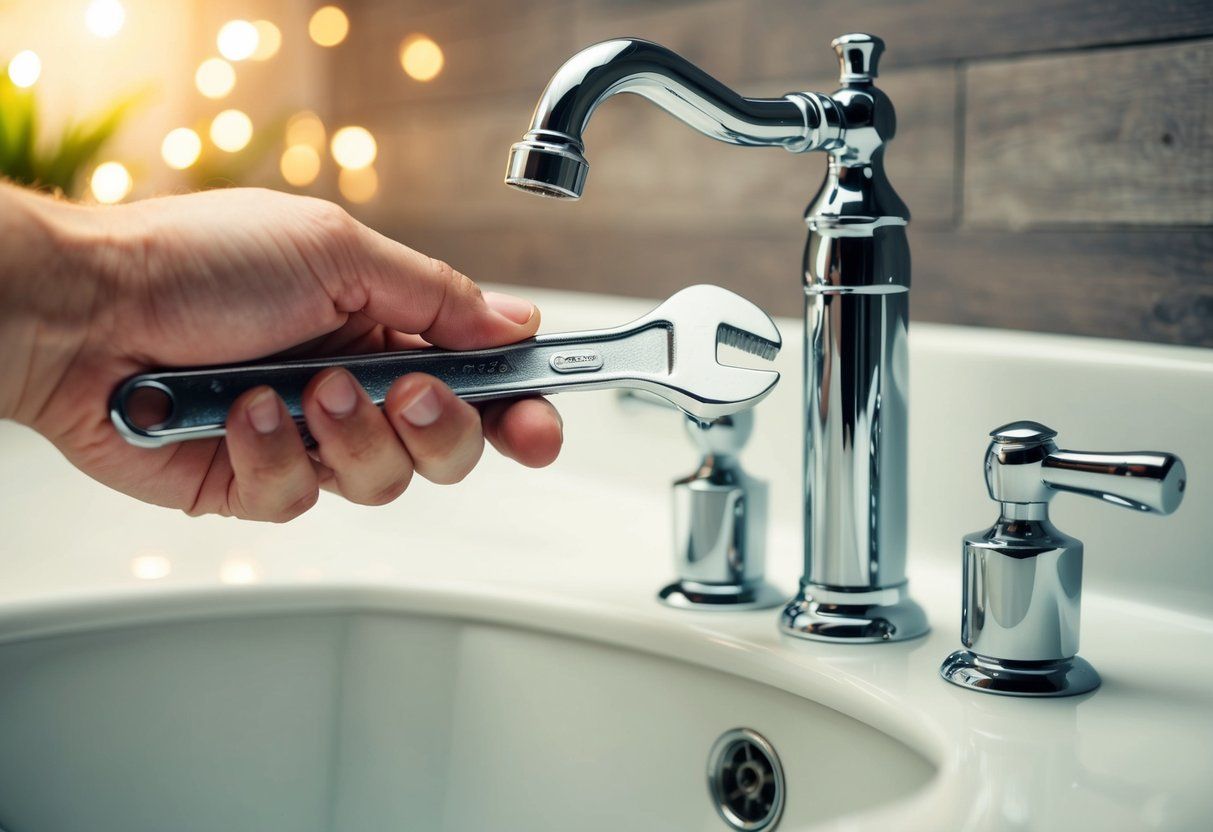
  • Adjustable wrench : Useful for loosening and tightening nuts.
  • Teflon tape : Prevents leaks at connections.
  • Bucket and towels : In case of water spills.

Gathering these items beforehand keeps our process smooth.

Turning Off the Water Supply

To avoid floods or leaks, turning off the water supply is a vital step. Locate the water supply valves under the sink. We need to turn these clockwise to shut them off.

If there are no individual valves, the house’s main water line must be turned off. After shutting the valves, we should turn on the existing faucet to allow any water left in the pipes to run out. This step ensures safety during removal and installation.

Removing the Old Faucet

Let’s start by unscrewing the nuts securing the old faucet using a basin wrench . It might be tough, especially if it’s been in place for a long time.

We should first disconnect the supply lines from the faucet with the adjustable wrench . After loosening them, take out the old faucet carefully. Make sure to clean the area around the sink hole to remove any grime or buildup. Preparing the area helps the new faucet fit well.

Mounting the New Faucet

Let’s get started with installing our kitchen faucet. We’ll go through how to put the parts together, attach the faucet securely to the sink, and connect the water supply lines.

Assembling Faucet Components

First, gather the faucet components. Check the faucet assembly for all necessary parts, like the rubber gasket and mounting hardware .

We might need a deck plate if our sink has multiple holes. This will cover any unused sink holes. Attach the escutcheon plate if required.

Next, let’s connect the sprayer hose, securing it well to ensure there’s no leaking. Review the instructions to confirm that each component is used correctly. Once all parts are together, we’re almost ready to move forward.

Securing the Faucet to the Sink

Now, let’s position the assembled faucet onto the sink. Align it with the sink holes.
We place the rubber gasket between the faucet base and the sink. This creates a seal and prevents water from leaking under the sink.

If using a soap dispenser , it might be a good time to position it. Insert the mounting screws into the holes beneath the sink and tighten them. Ensure the faucet doesn’t wobble. Properly secure it so it’s firm against the sink surface.

Our focus here is to ensure everything is tightly fastened without over-tightening. This prevents any damage to parts.

Connecting Water Supply Lines

With our faucet in place, it’s time to connect the flexible water supply lines . Identify the cold and hot water lines before proceeding.

Attach these lines to the corresponding water valves under the sink. We’ll need a wrench to ensure these connections are tight without overtightening. This avoids leaks but ensures a secure connection.

Once secured, double-check for any potential leaks by turning the faucet on and checking for drips around the connections. Adjust the fittings if necessary for a snug fit.

Now, it’s all set up, and we’re ready to enjoy our new kitchen faucet!

Finalizing the Installation

To make sure our new faucet works perfectly, we need to check for leaks and make some finishing touches. These tasks ensure that all parts are properly secured and functional.

Checking for Leaks and Functionality

After installing a kitchen faucet, turn on the water . Run both hot and cold, inspecting all connections. Look under the sink for leaking water. Tighten connections if needed.

Make sure the counterweight is attached correctly. This helps the faucet hose retract smoothly. Adjust until it pulls back without issues.

It’s important to test any additional features, like pot fillers, for proper operation. Open and close the valve to make sure water flows as expected and stops completely. We should feel confident that everything operates as it should.

Finishing Touches and Clean Up

Once leaks are checked, let’s turn our attention to cleaning. Remove any leftover debris or packaging materials from the area. Wipe down the faucet and surrounding surfaces with a damp cloth to remove smudges.

If the installation required caulk or a sealant, ensure it is evenly applied and smooth along edges. This creates a neat appearance and prevents future leaks.

Finally, gather all tools and materials, putting them away in their proper places. Our work area should be clean and organized. This ensures our space looks as good as it functions.

Recent Posts

Fast Response Plumbing technician servicing a water shut off valve in San Francisco
By Joe Tinsley July 17, 2026
Learn how gate valves, ball valves, and angle stops work, where to find them in your San Francisco home, and when to replace them. FAQs inside.
Budgeting for Unforeseen Sewer Line Maintenance Expenses
By Stefani January 31, 2026
Sewer line problems can hit your wallet fast, and we know the stress of a surprise repair. We show you how to plan a practical budget that covers emergency fixes, regular upkeep, and the big costs that sneak up on you. This saves you money and keeps small issues from turning into major failures. We […]
Seasonal Effects on Sewer Line Maintenance Costs
By Stefani January 30, 2026
You’ll want to know how seasons change what you pay for sewer line maintenance so you can plan ahead and avoid surprise bills. Seasonal weather, ground movement, and plant growth directly affect repair needs and costs, so budgeting by season cuts unexpected expenses. We outline what shifts costs, when repairs most often happen, and which […]
The Role of Location in Sewer Line Maintenance Pricing
By Stefani January 29, 2026
You’ll pay different amounts for sewer line maintenance depending on where your property sits and what’s under it. Location drives cost through factors like soil type, access difficulty, local labor rates, and permit rules, so knowing these lets you predict and plan for expenses. We’ll show how those local details shape quotes and outcomes. We’ll […]
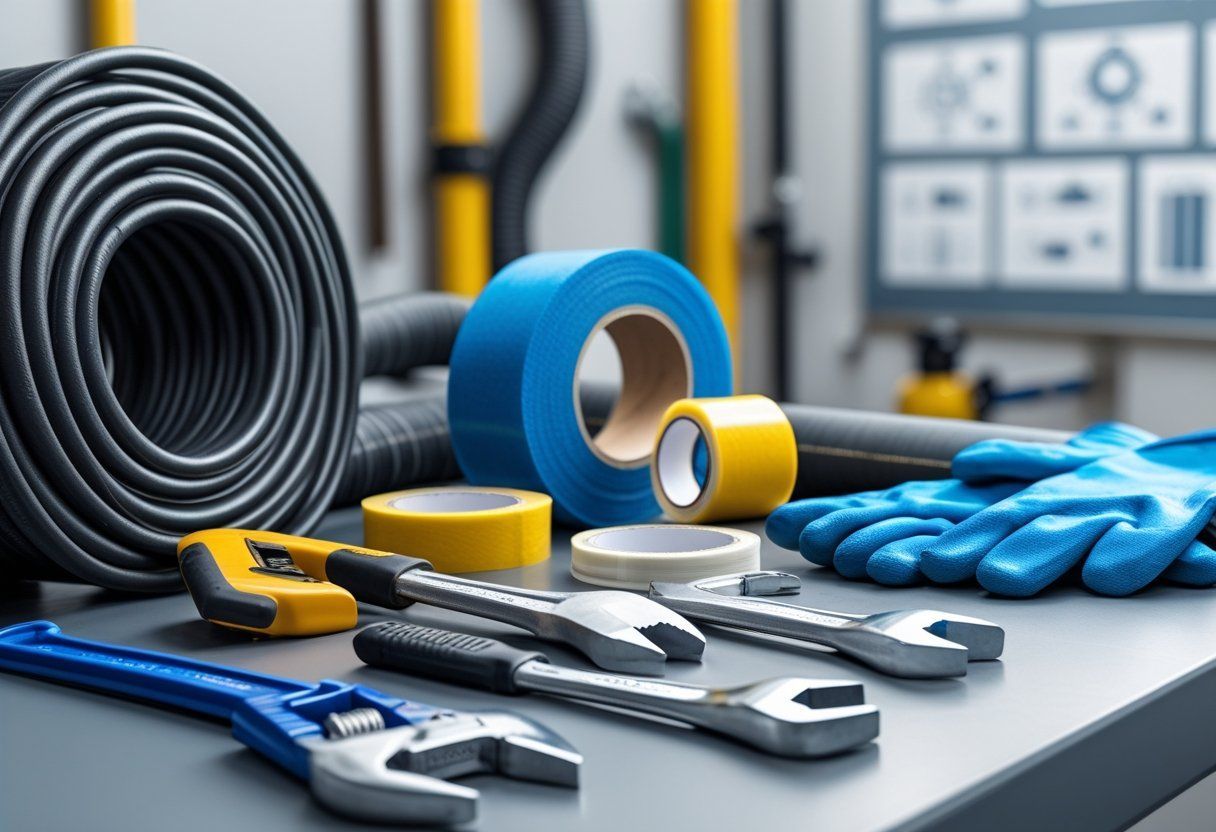
Analyzing Material Expenses for Effective Sewer Line Care
By Stefani January 28, 2026
We’ll break down the real costs that matter for keeping a sewer line working well so you can plan and avoid surprises. You’ll learn which materials and fees drive most of the expense and how small choices can lower long-term costs. We’ll look at costs for parts, tools, permits, and regular cleaning, plus where labor […]
Understanding the Impact of Labor Costs on Sewer Line Maintenance
By Stefani January 25, 2026
You want to know how labor costs shape sewer line care and what that means for your wallet. We will show how wages, crew size, and the repair method you choose change the final bill so you can plan smarter and avoid surprises. Knowing which labor factors most drive costs lets you pick repair options […]
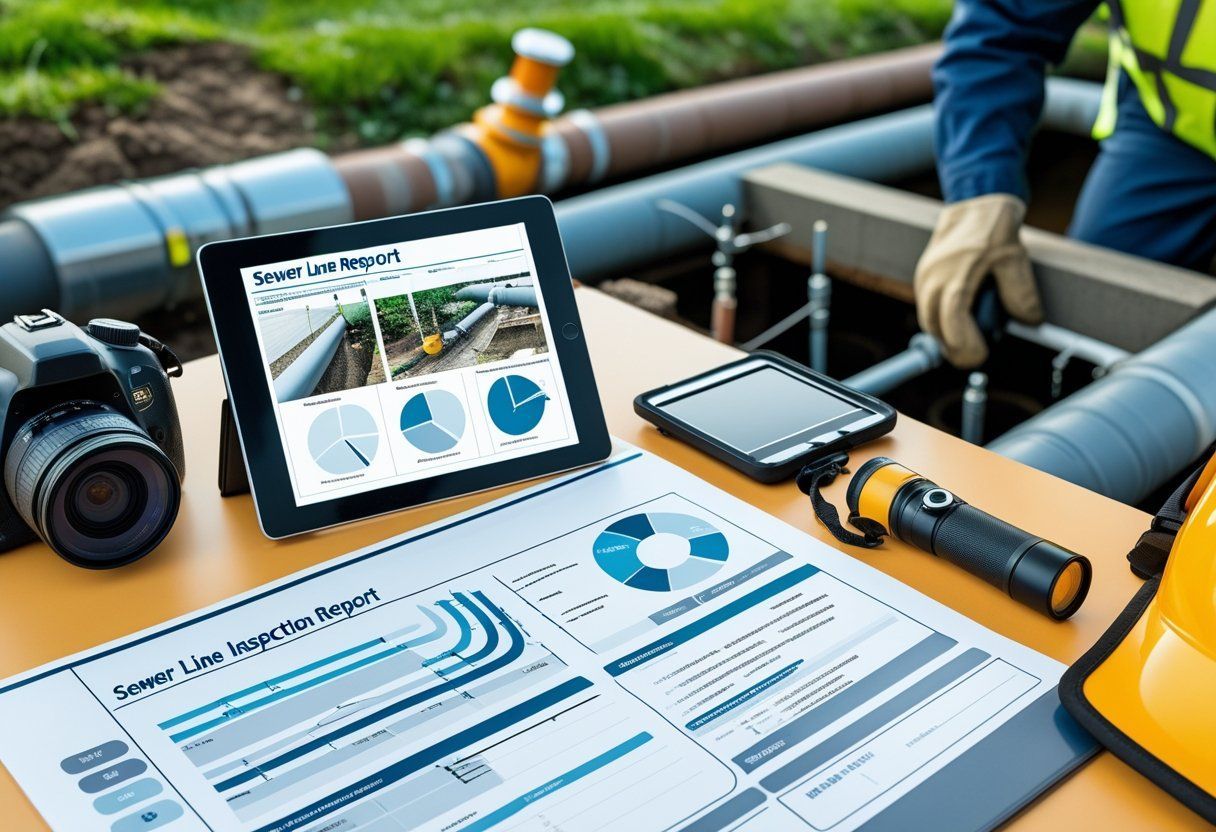
How to Interpret Sewer Line Inspection Reports
By Stefani January 24, 2026
You’ll get clear steps to decode the most important parts of a sewer line inspection report so you can act with confidence. We show you how to spot real problems, what each defect means, and which issues need immediate repair versus routine maintenance. We break the report into simple pieces what the camera images show, […]
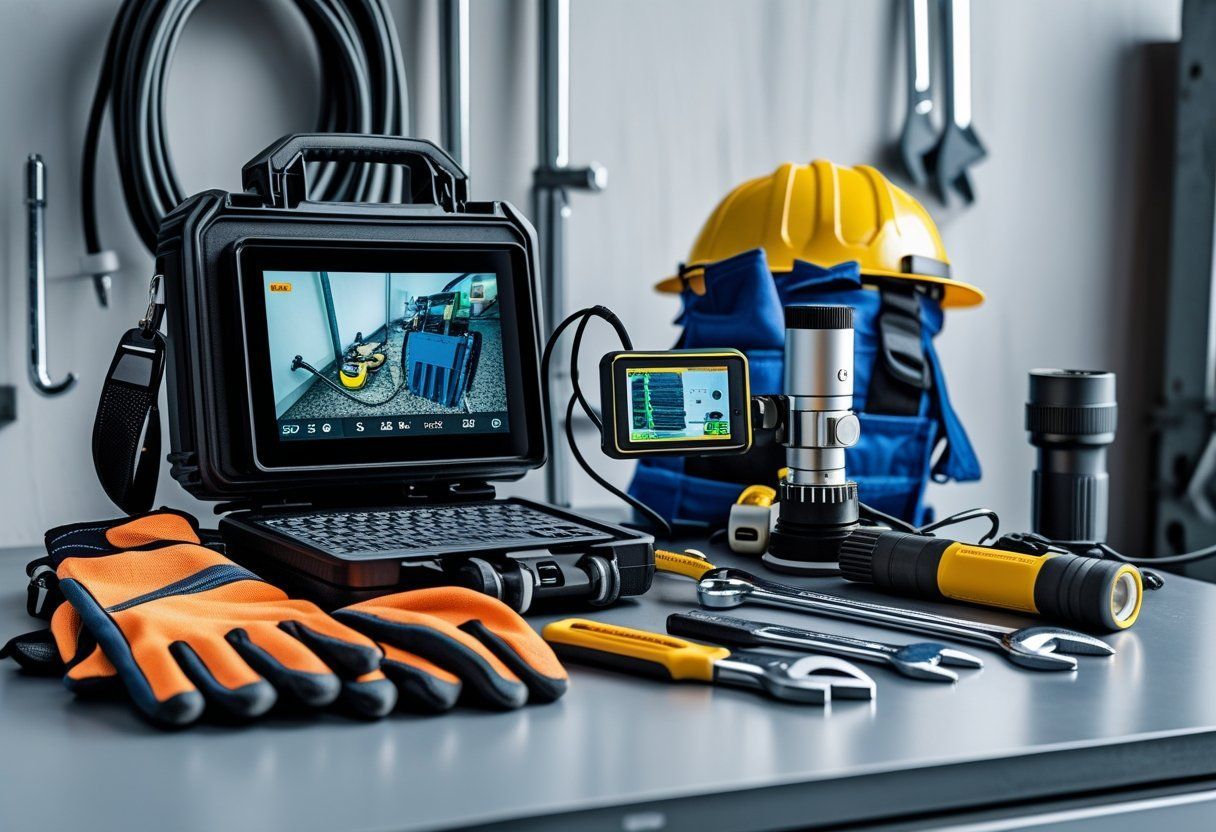
Tool kit with hard hat, gloves, laptop, and handheld device on a workbench in a workshop
By Stefani January 23, 2026
You want tools that give clear answers fast so you can find problems and fix them right. We rely on high-quality sewer cameras, locating gear, and cleaning tools to spot cracks, blockages, and defects in sewer lines accurately. Knowing which tools to use helps a plumber save time and avoid costly mistakes. We will walk […]
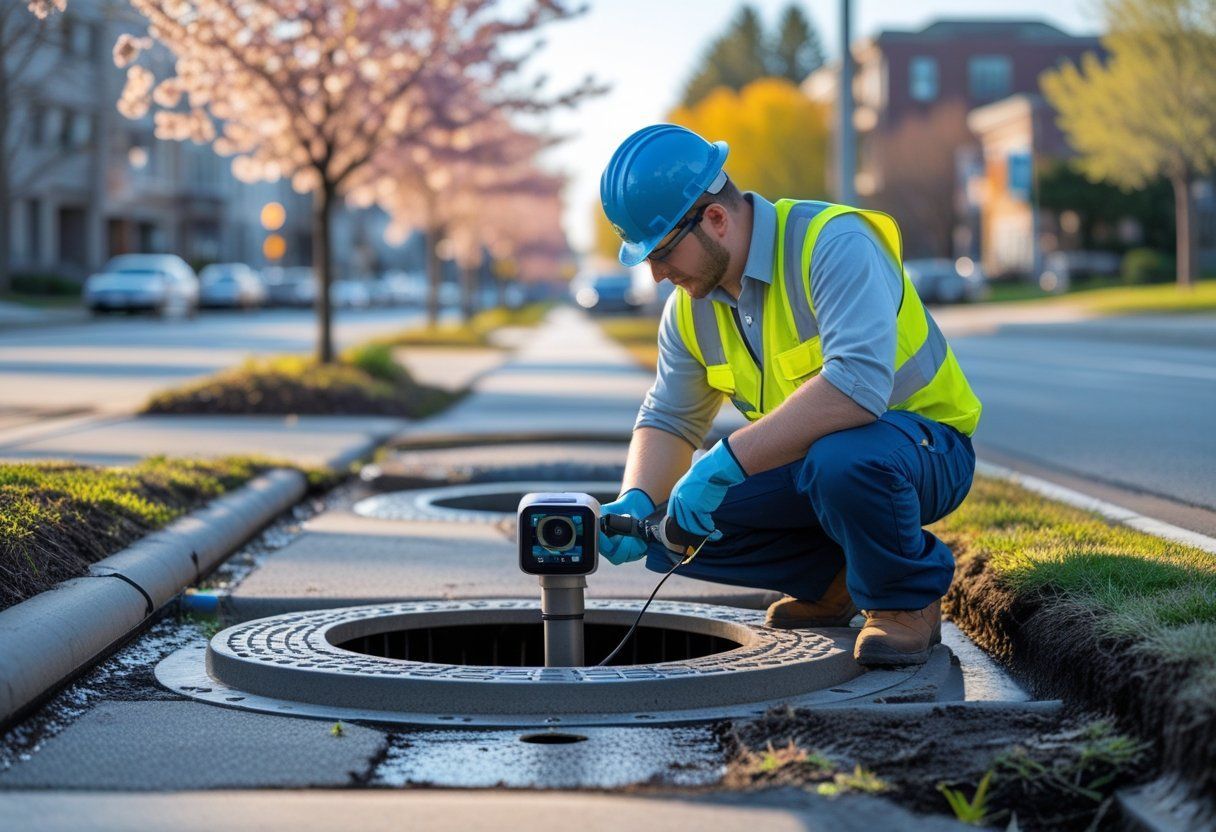
Worker in blue hard hat inspecting a manhole on a street with a camera device
By Stefani January 22, 2026
You want sewer line inspections timed so they catch problems before they get costly or urgent. We recommend scheduling inspections based on seasonal risks winter freeze, spring thaw, and heavy fall rains because timing cuts repair costs and prevents service interruptions. We will explain how weather, soil movement, and tree roots change the risk level […]
Common Mistakes to Avoid During Sewer Line Inspections
By Stefani January 18, 2026
We know sewer line inspections feel technical and tense, but avoiding a few common mistakes protects your home and wallet. Start by planning the inspection, knowing what to look for, and involving a qualified professional when signs point to trouble. That simple approach cuts down on missed problems and costly surprises. We will walk through […]
Show More