
Learn how gate valves, ball valves, and angle stops work, where to find them in your San Francisco home, and when to replace them. FAQs inside.
Sewer line problems can hit your wallet fast, and we know the stress of a surprise repair. We show you how to plan a practical budget that covers emergency fixes, regular upkeep, and the big costs that sneak up on you. This saves you money and keeps small issues from turning into major failures. We […]
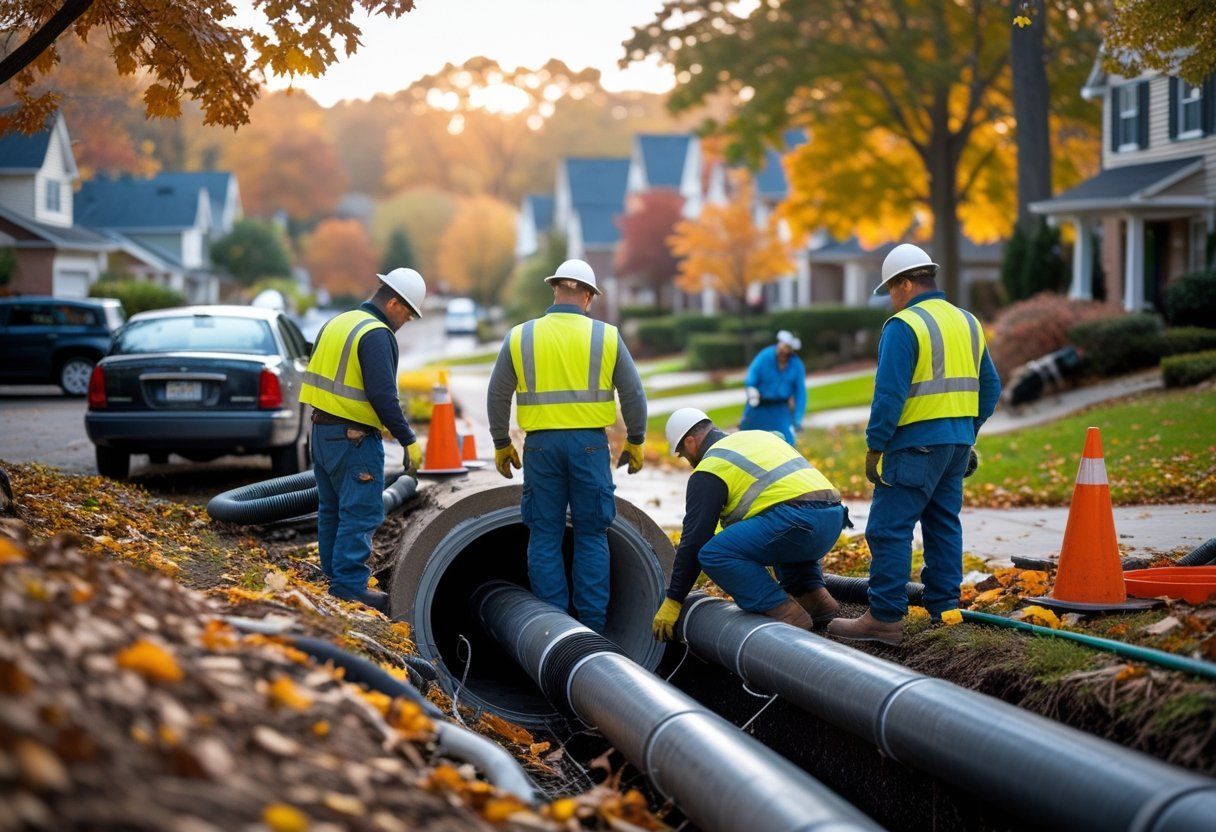
You’ll want to know how seasons change what you pay for sewer line maintenance so you can plan ahead and avoid surprise bills. Seasonal weather, ground movement, and plant growth directly affect repair needs and costs, so budgeting by season cuts unexpected expenses. We outline what shifts costs, when repairs most often happen, and which […]
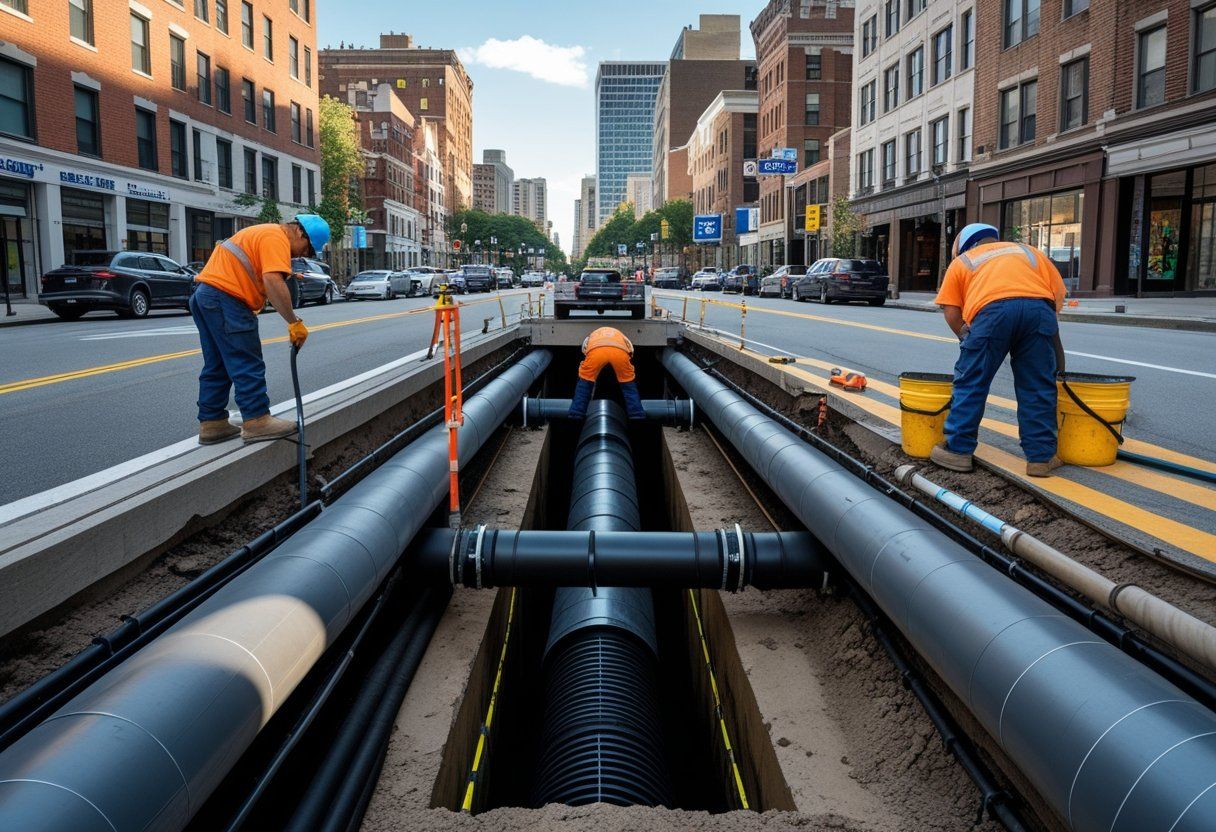
You’ll pay different amounts for sewer line maintenance depending on where your property sits and what’s under it. Location drives cost through factors like soil type, access difficulty, local labor rates, and permit rules, so knowing these lets you predict and plan for expenses. We’ll show how those local details shape quotes and outcomes. We’ll […]
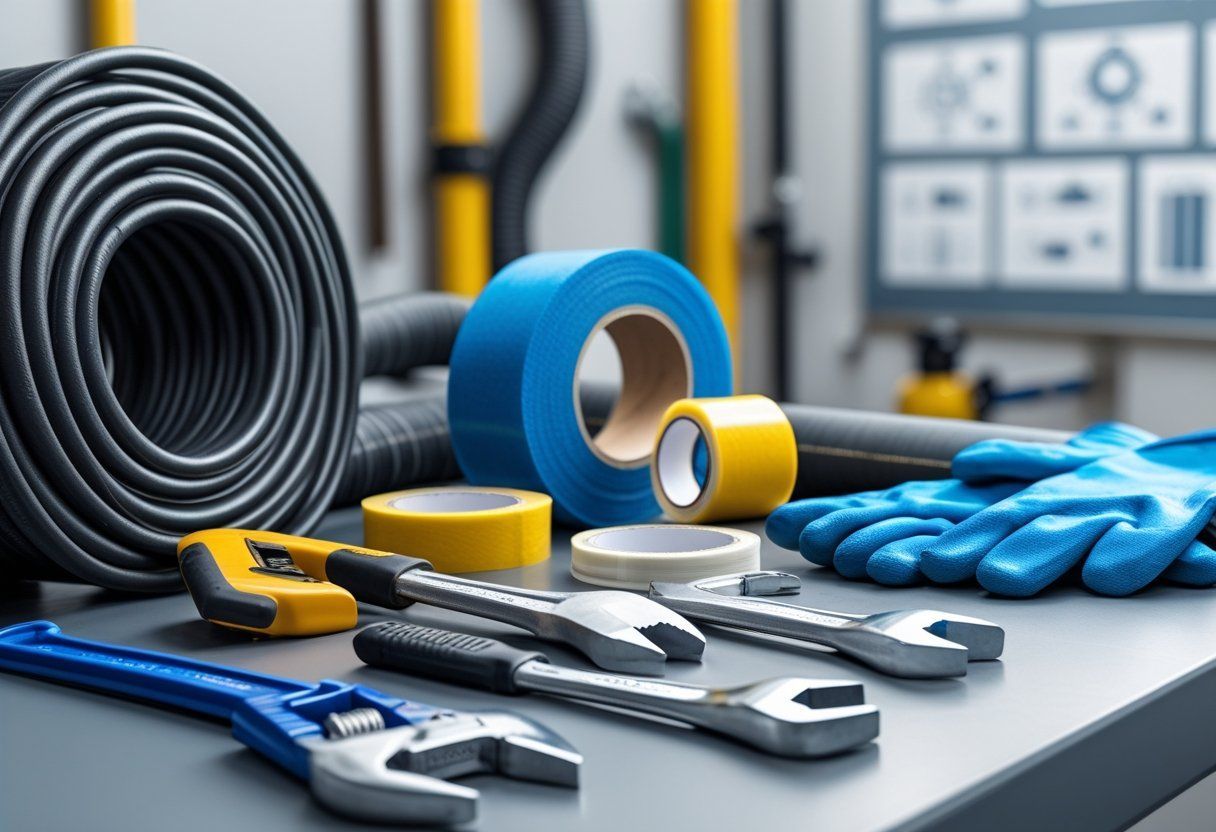
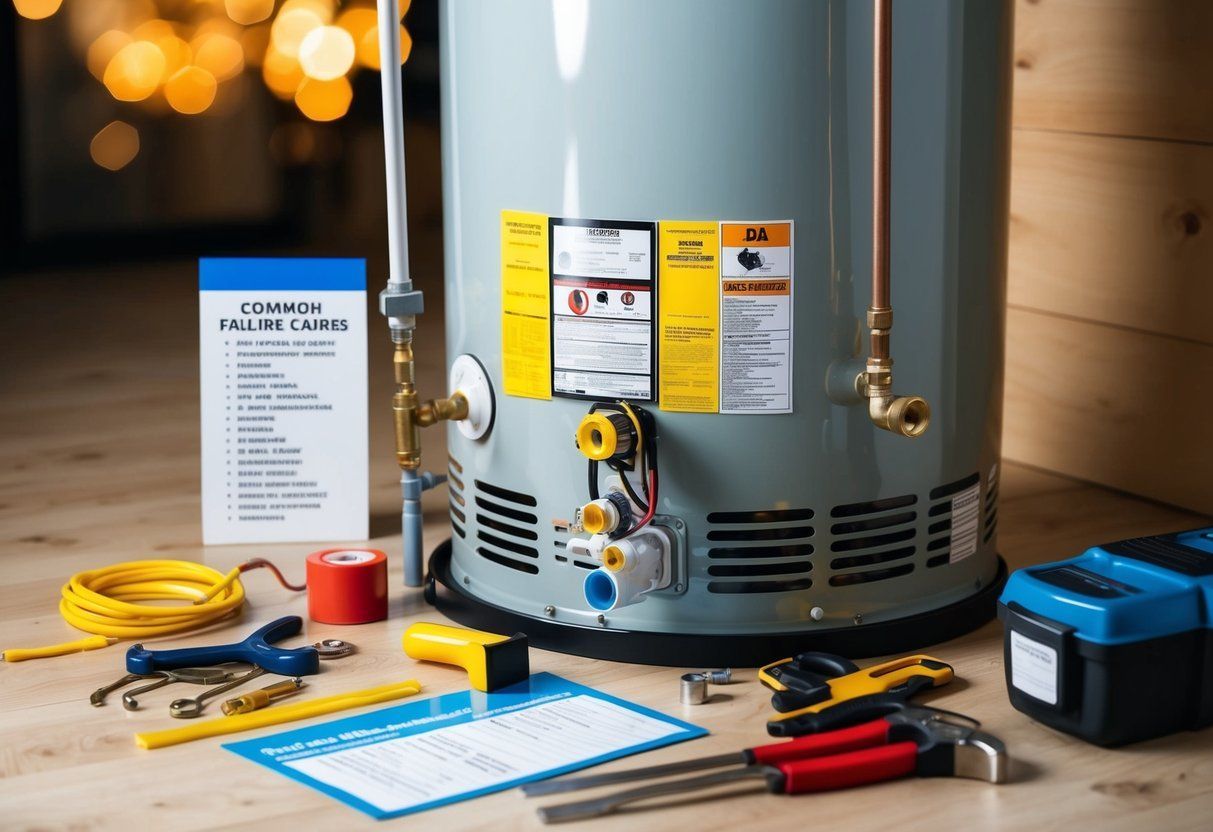
We’ll break down the real costs that matter for keeping a sewer line working well so you can plan and avoid surprises. You’ll learn which materials and fees drive most of the expense and how small choices can lower long-term costs. We’ll look at costs for parts, tools, permits, and regular cleaning, plus where labor […]
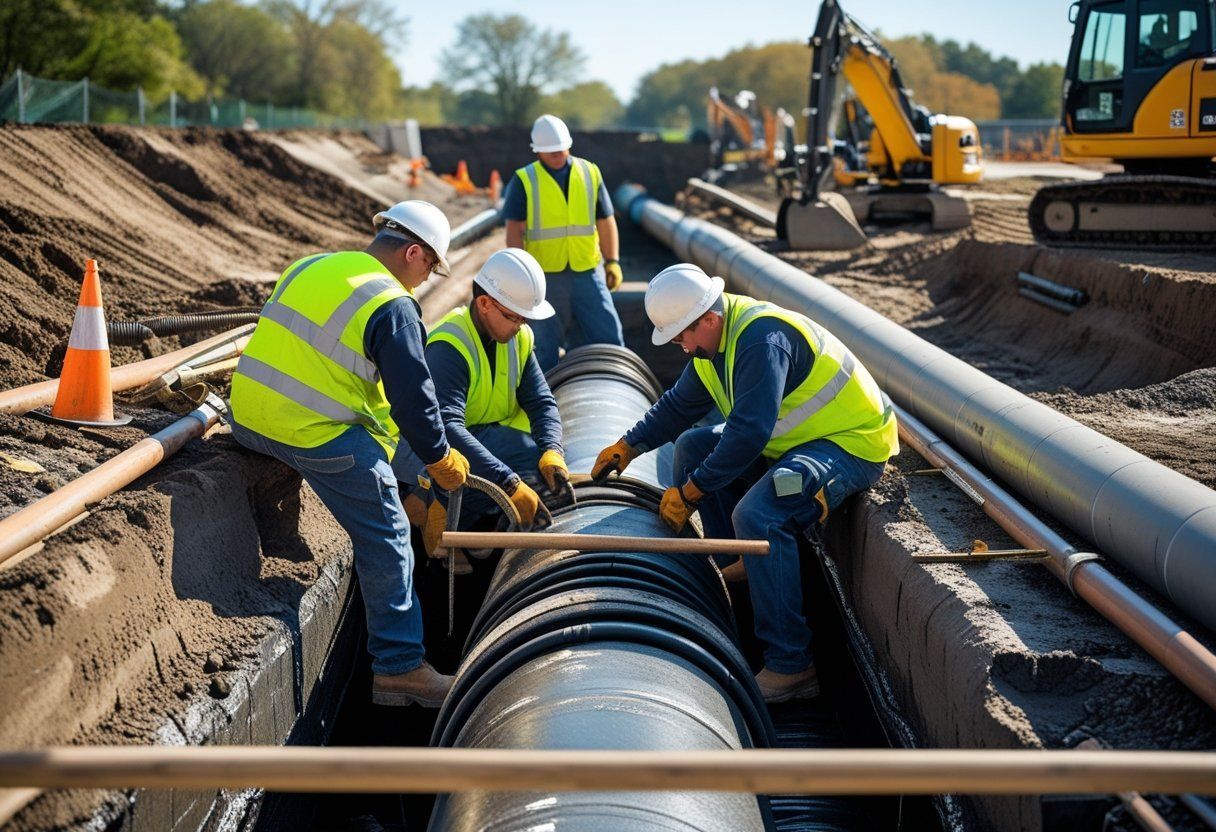
You want to know how labor costs shape sewer line care and what that means for your wallet. We will show how wages, crew size, and the repair method you choose change the final bill so you can plan smarter and avoid surprises. Knowing which labor factors most drive costs lets you pick repair options […]

You’ll get clear steps to decode the most important parts of a sewer line inspection report so you can act with confidence. We show you how to spot real problems, what each defect means, and which issues need immediate repair versus routine maintenance. We break the report into simple pieces what the camera images show, […]
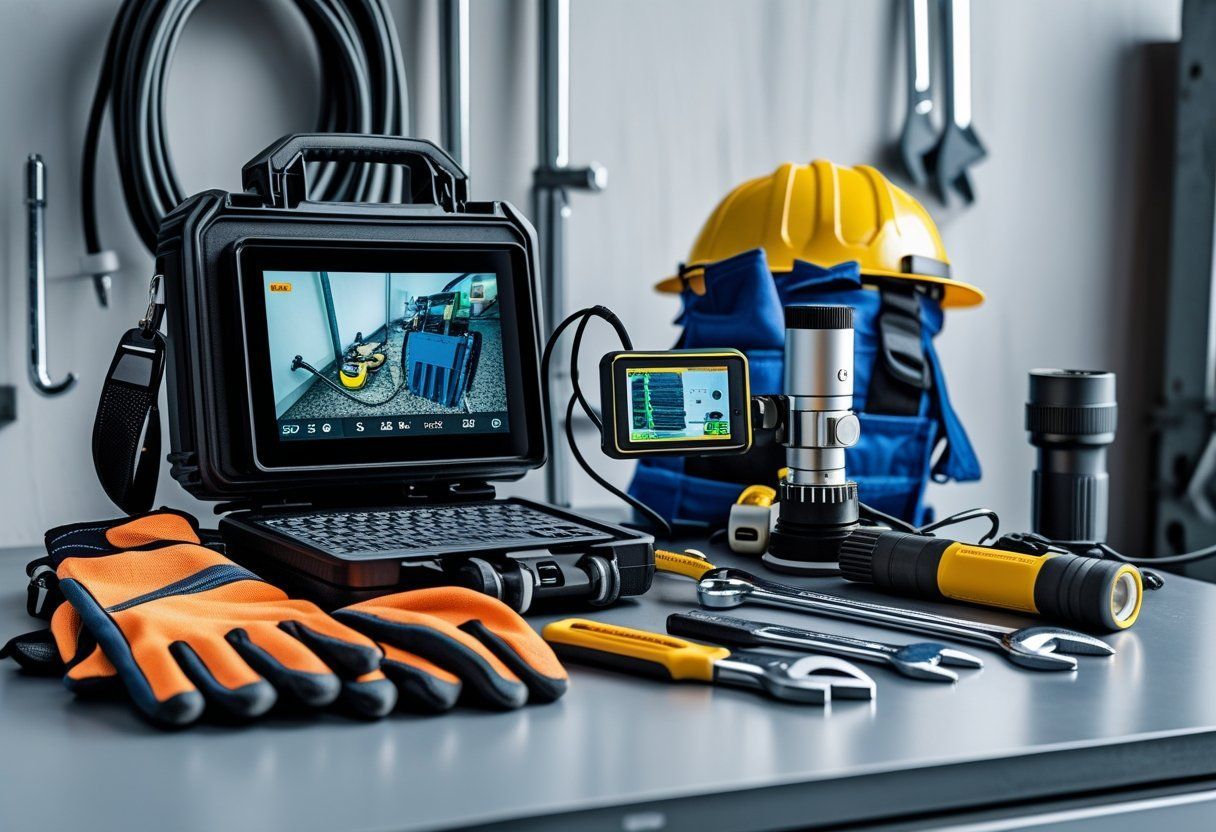
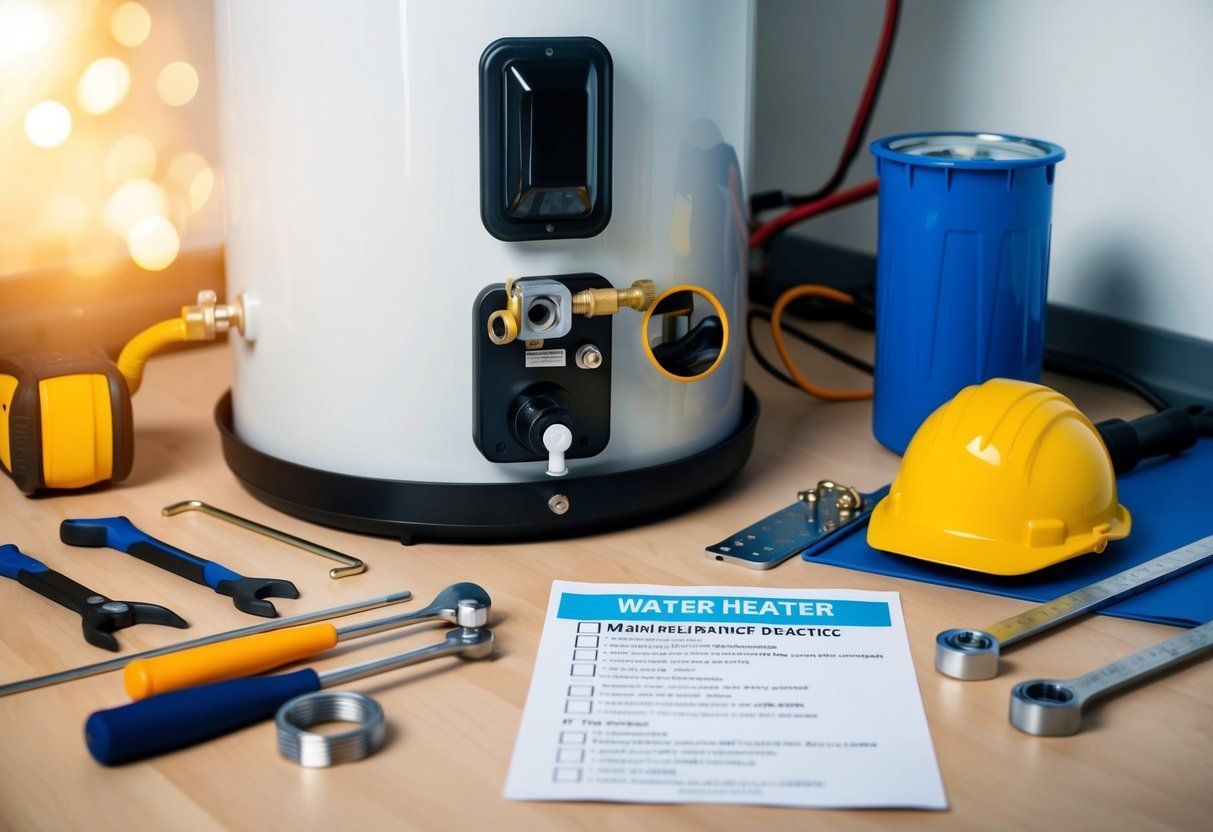
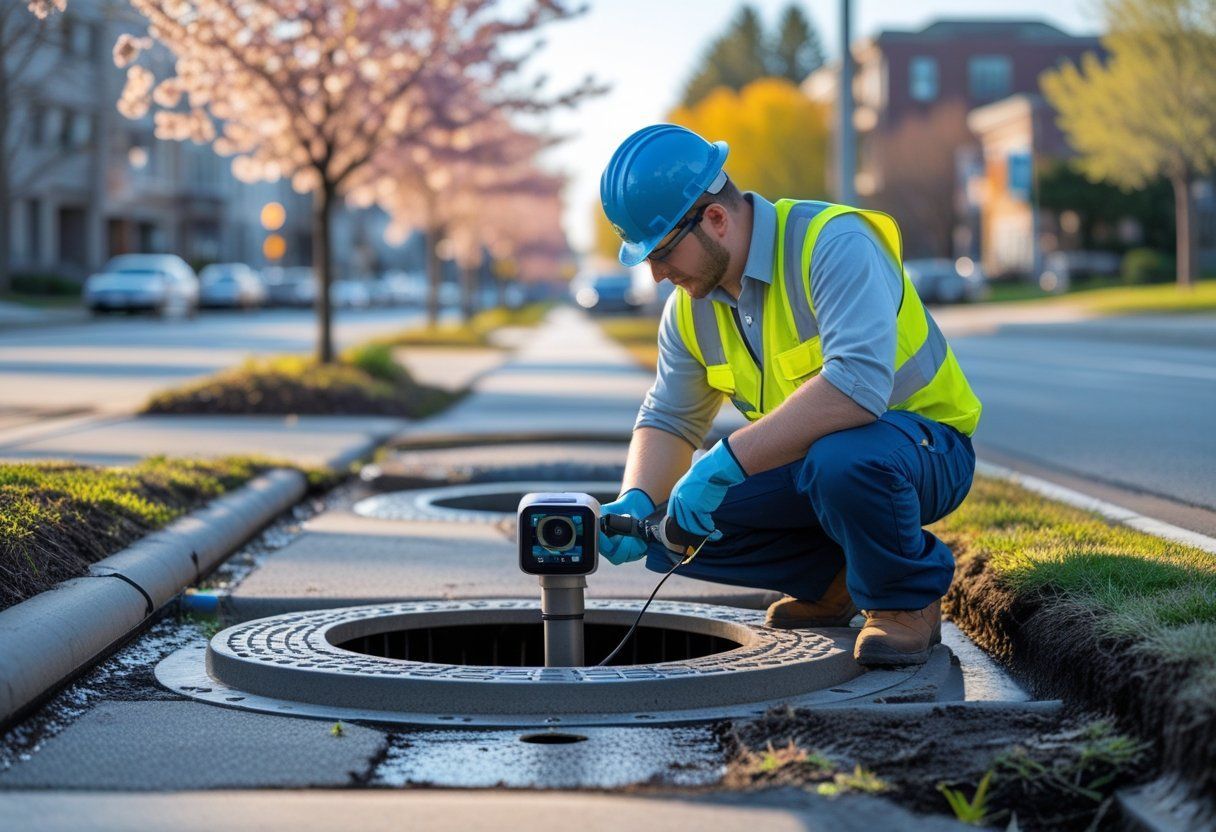
You want tools that give clear answers fast so you can find problems and fix them right. We rely on high-quality sewer cameras, locating gear, and cleaning tools to spot cracks, blockages, and defects in sewer lines accurately. Knowing which tools to use helps a plumber save time and avoid costly mistakes. We will walk […]
You want sewer line inspections timed so they catch problems before they get costly or urgent. We recommend scheduling inspections based on seasonal risks winter freeze, spring thaw, and heavy fall rains because timing cuts repair costs and prevents service interruptions. We will explain how weather, soil movement, and tree roots change the risk level […]

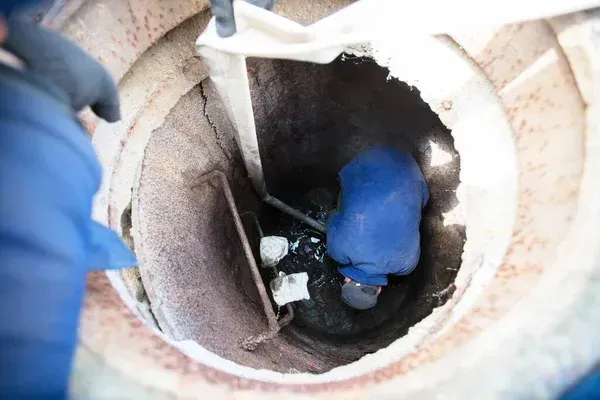
We know sewer line inspections feel technical and tense, but avoiding a few common mistakes protects your home and wallet. Start by planning the inspection, knowing what to look for, and involving a qualified professional when signs point to trouble. That simple approach cuts down on missed problems and costly surprises. We will walk through […]